The moon, the stars and the software
A special constellation of planets and talk about astrophotography and HDR tools.

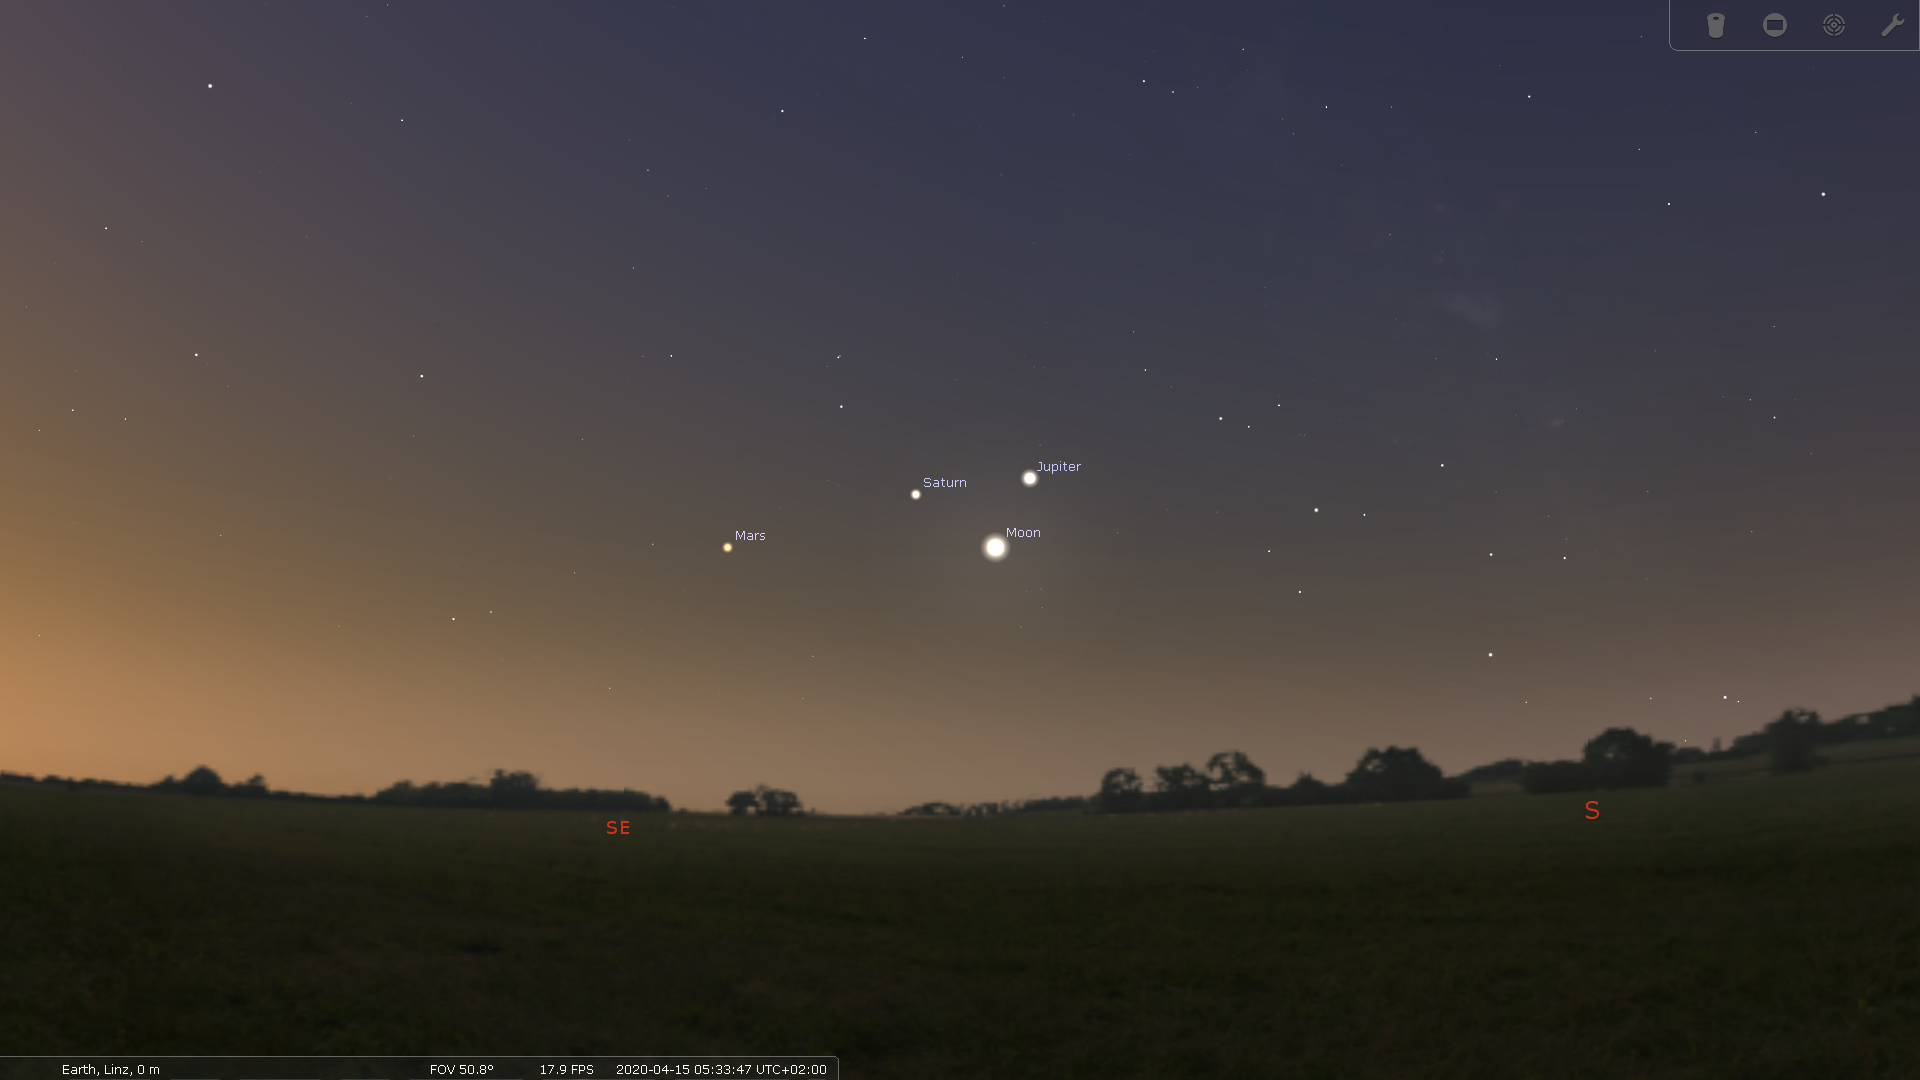
A couple of days ago I was made aware by a work colleague that there will be a nice lineup of Mars, Jupiter, Saturn and the Moon this week. Small problem: The lineup is visible at around 4am in the morning and only for about an hour or two. At first I did not want to take photos, because I really don’t like waking up that early, but after some thinking I decided to go for it anyway. After all this is exactly the kind of crazy stuff I love to do, also it was a nice chance to have a reason for going out after self isolating in the apartement for the last 4 weeks.
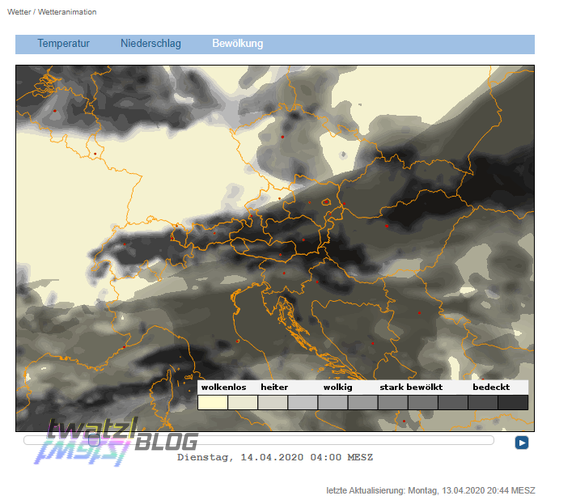
So the evening before I packed all my gear ready to go. However there was one big uncertainty factor: the weather. According to ZAMG Linz was supposed to be exactly at the edge of a cloud front. Since I would have liked the lineup geometry on Tuesday more than on Wednesday I had to wake up at 3am and check. Unfortunately the prediction models were slightly off an the city was still covered in clouds.
So the next day the same game again. This time it was clear skies.
The Moon and the Stars
Doing Astrophotography with the Moon involved is always pretty tricky. To the human eye the moon does not seem that bright, but compared to all the other stars it is extremely bright. Just to give you a feel, most modern cameras have shutter speeds from 1/4000th of a second up to 30 seconds. When the camera settings are configured so that stars are well visible at a shutter speed of about 1 second then you have to set the shutter to 1/500th of a second to avoid overexposing the lit surface of the moon. That is quite a considerable amount of the range. However when you have the perfect exposure of the moon, then there will be no stars visible in the photo. This is also what happened in the photos taken during the Apollo Programme.
So how can this problem be solved? How can the perfect shot be created where the moon is not overexposed, but the Stars are clearly visible? The answer is software!
But before we discuss all this I want to present the images I took.
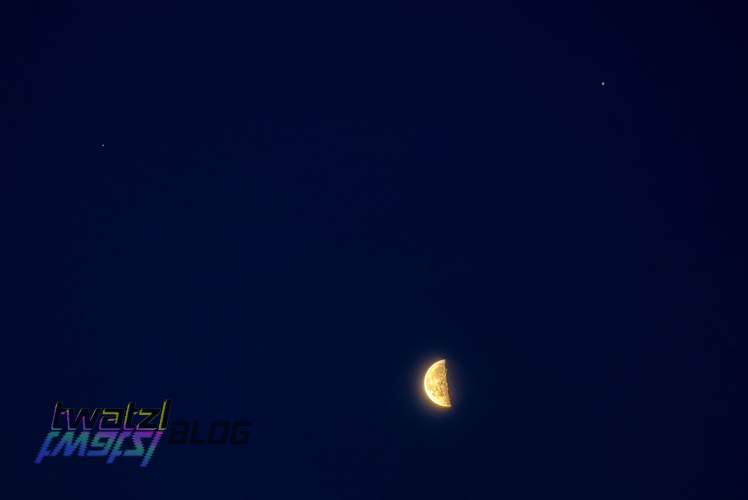
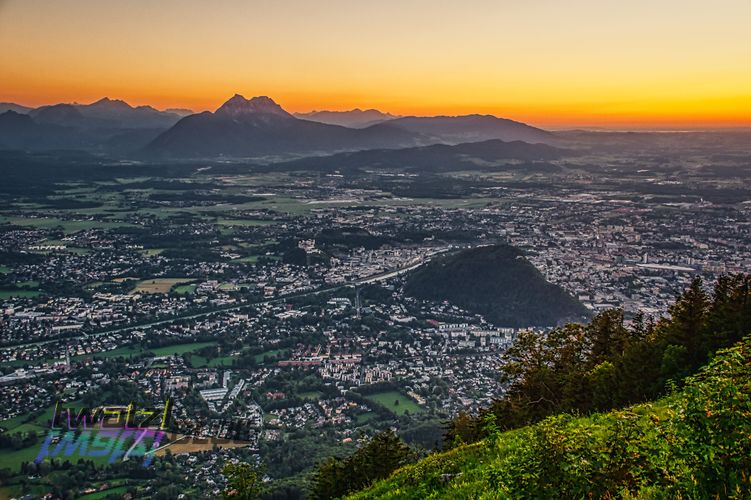
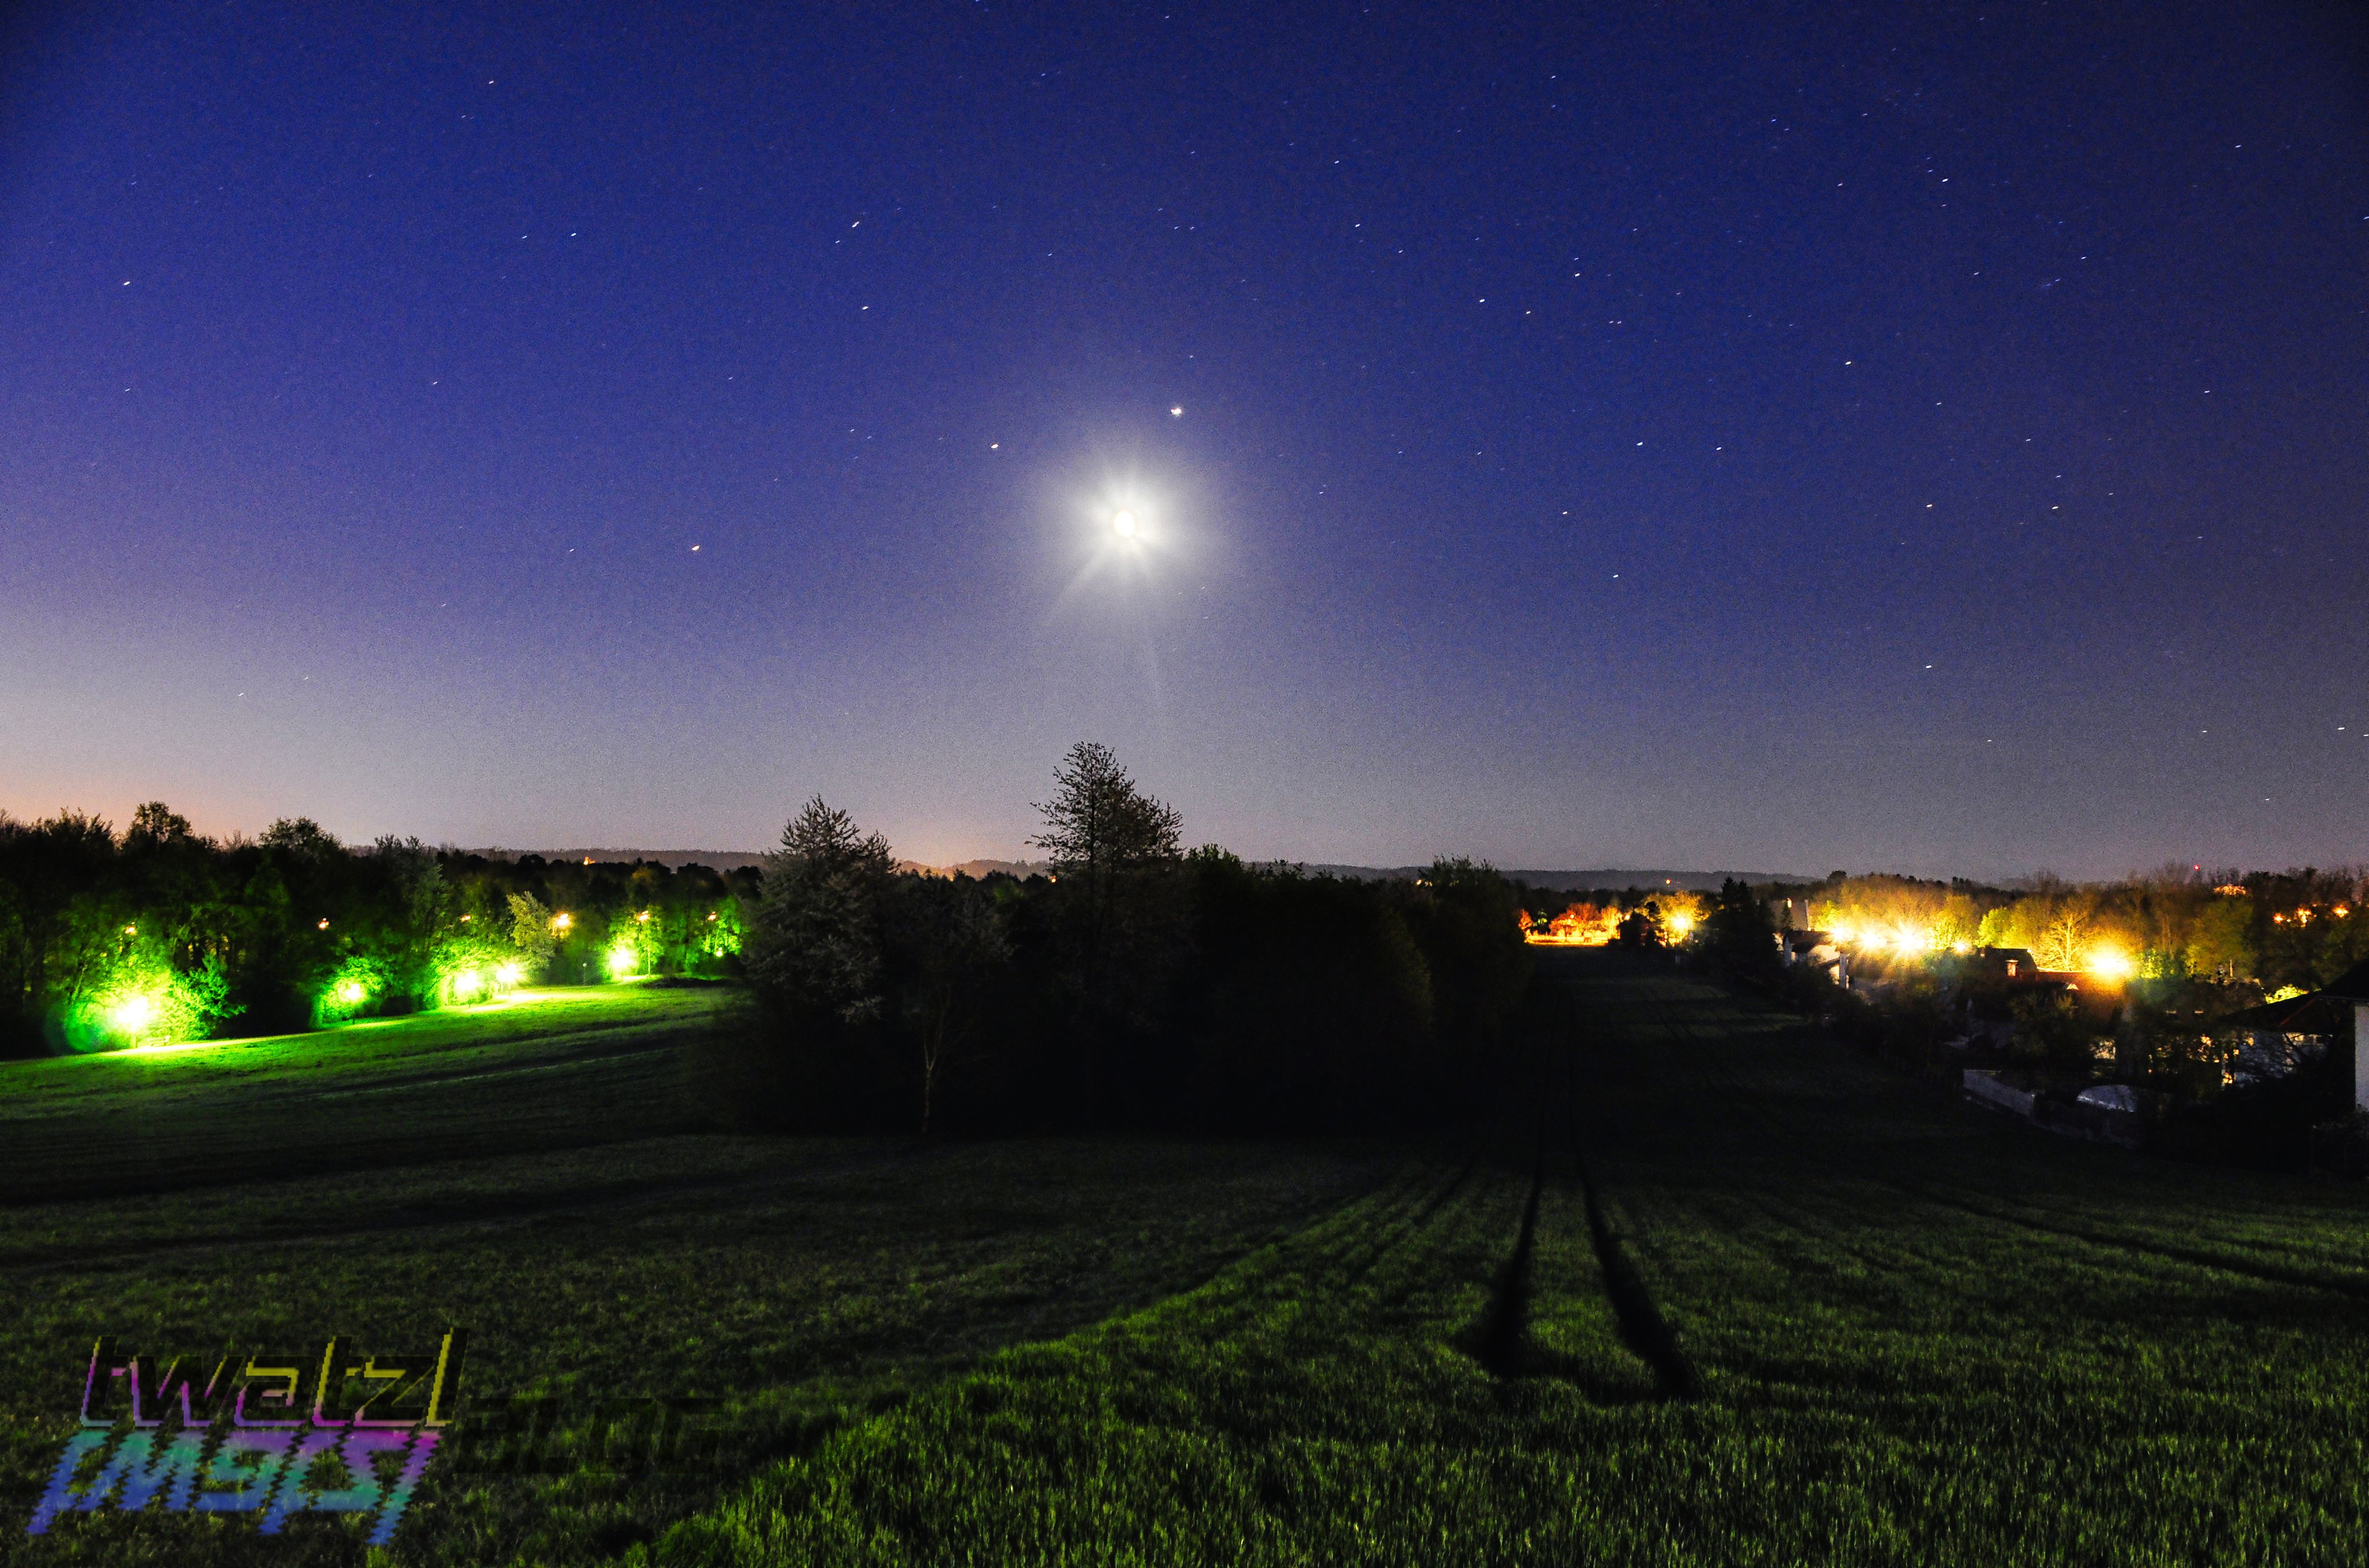
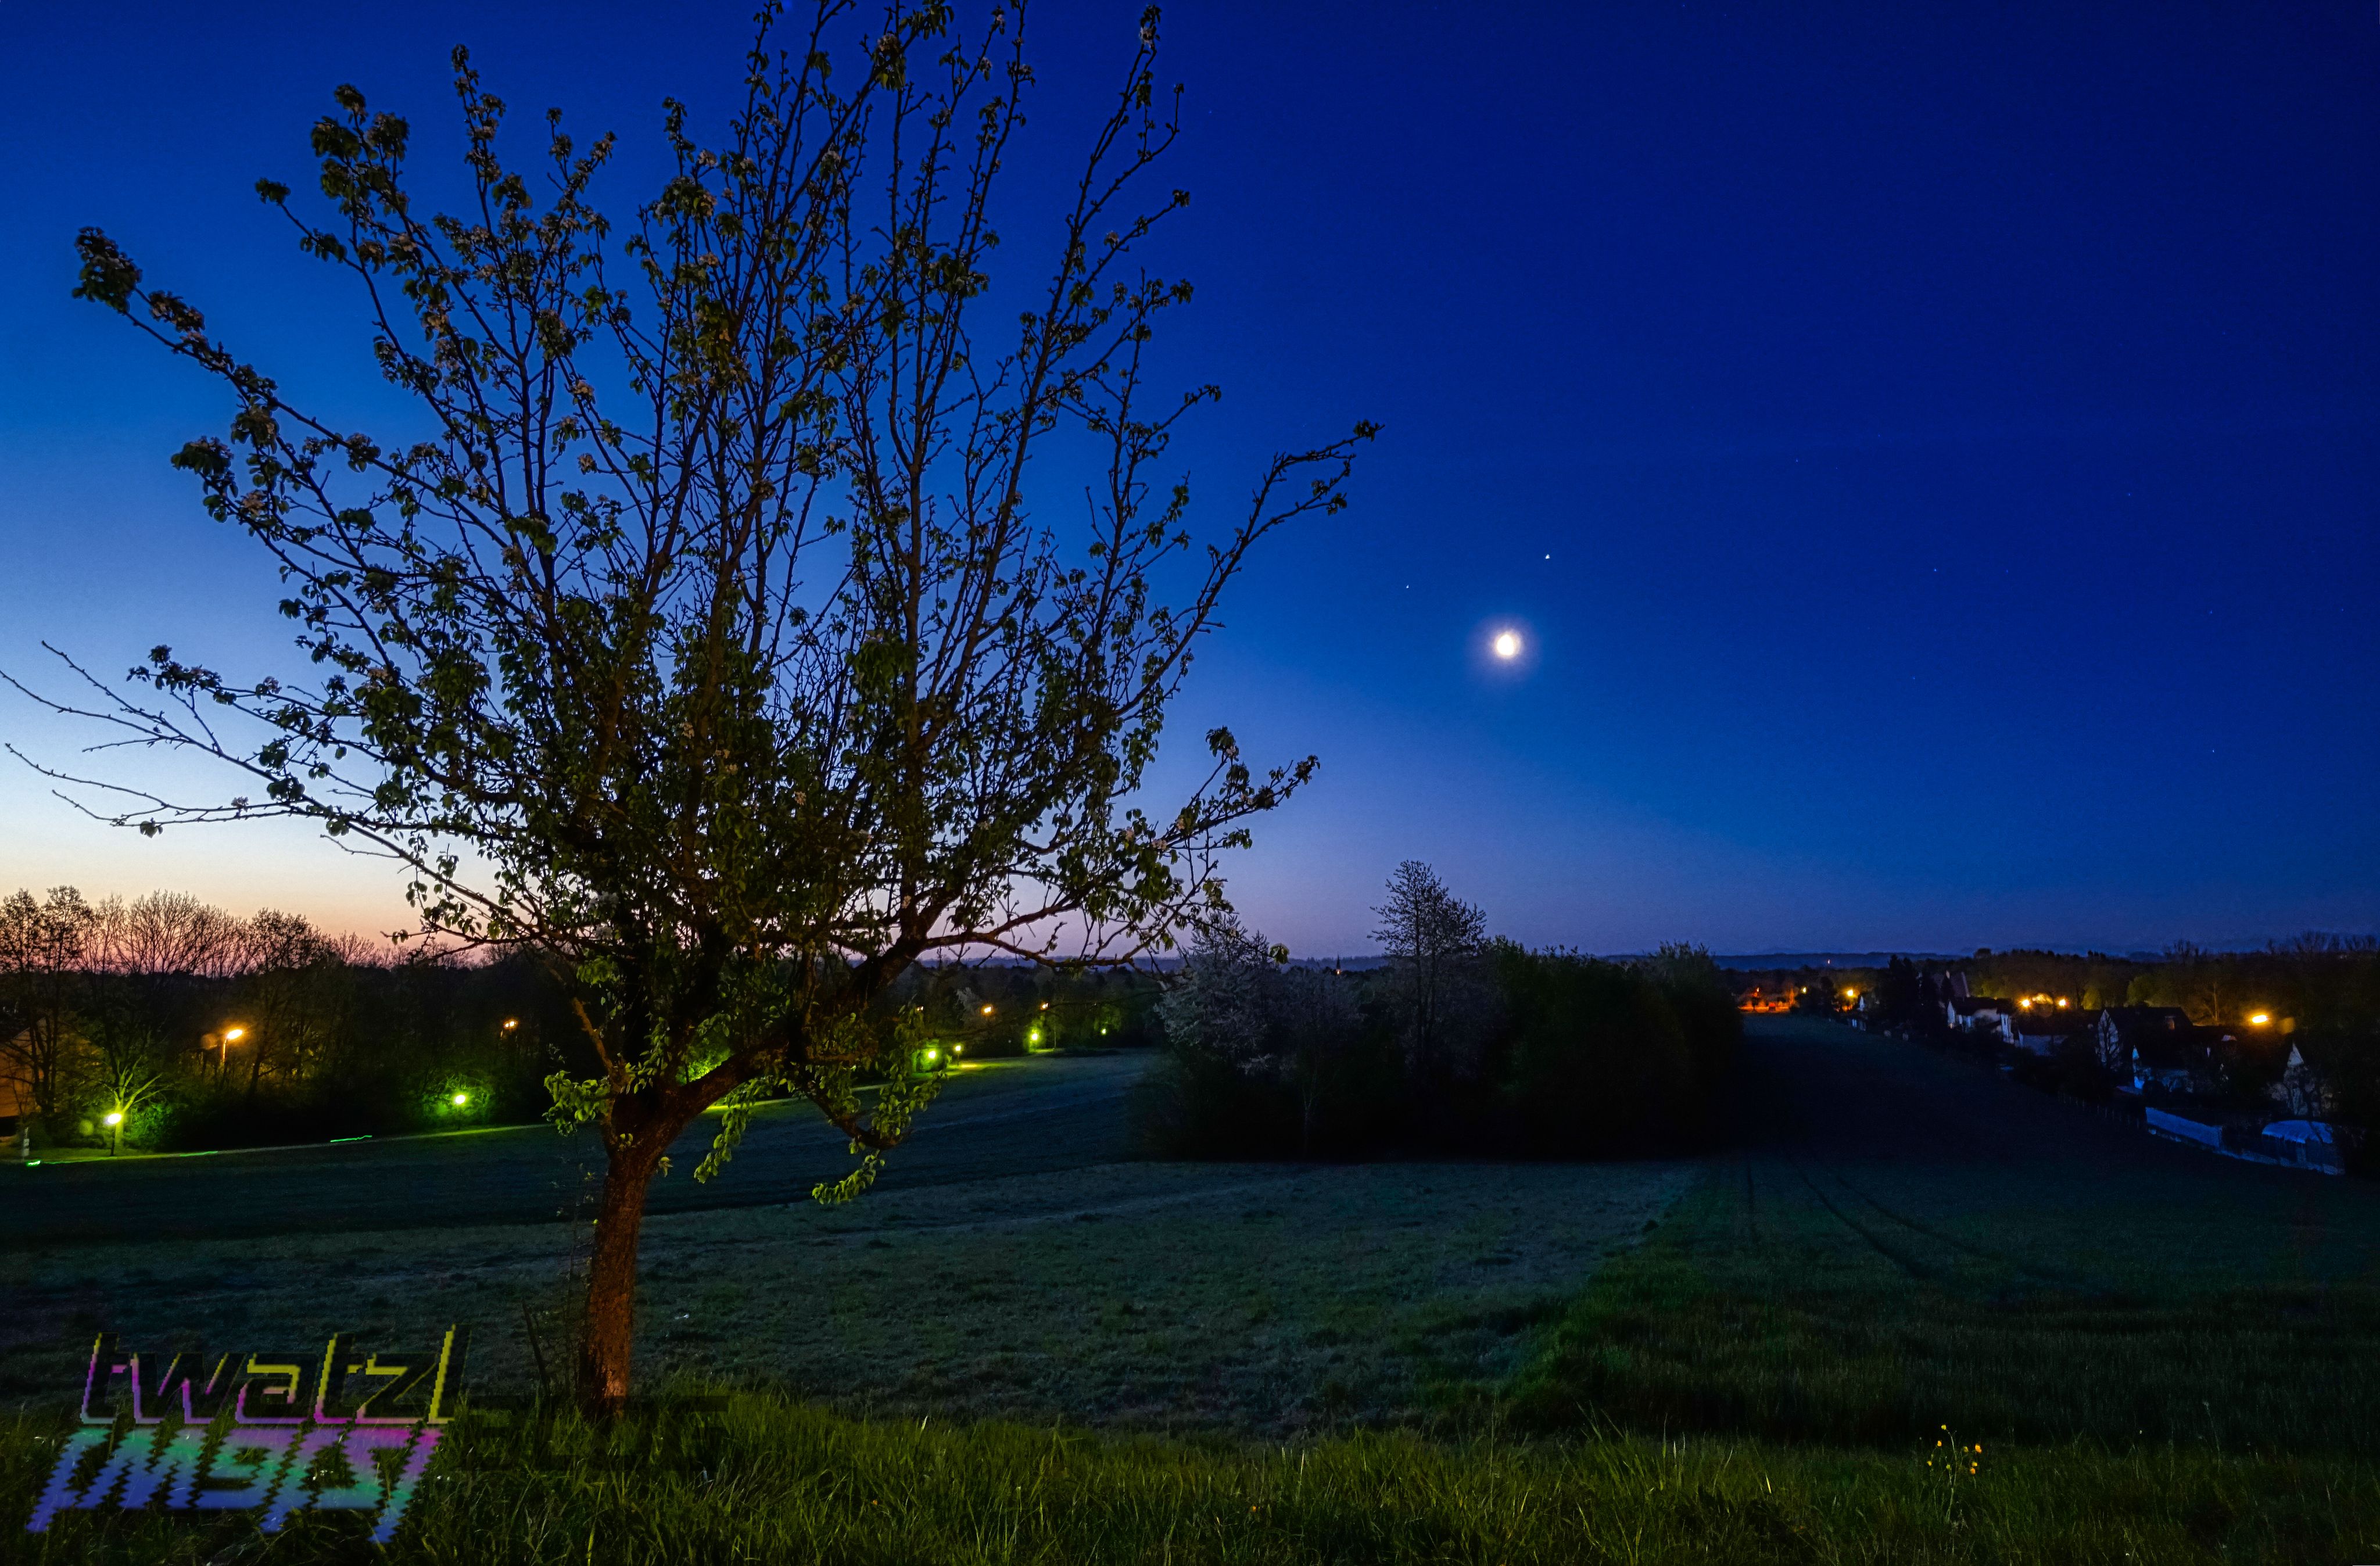
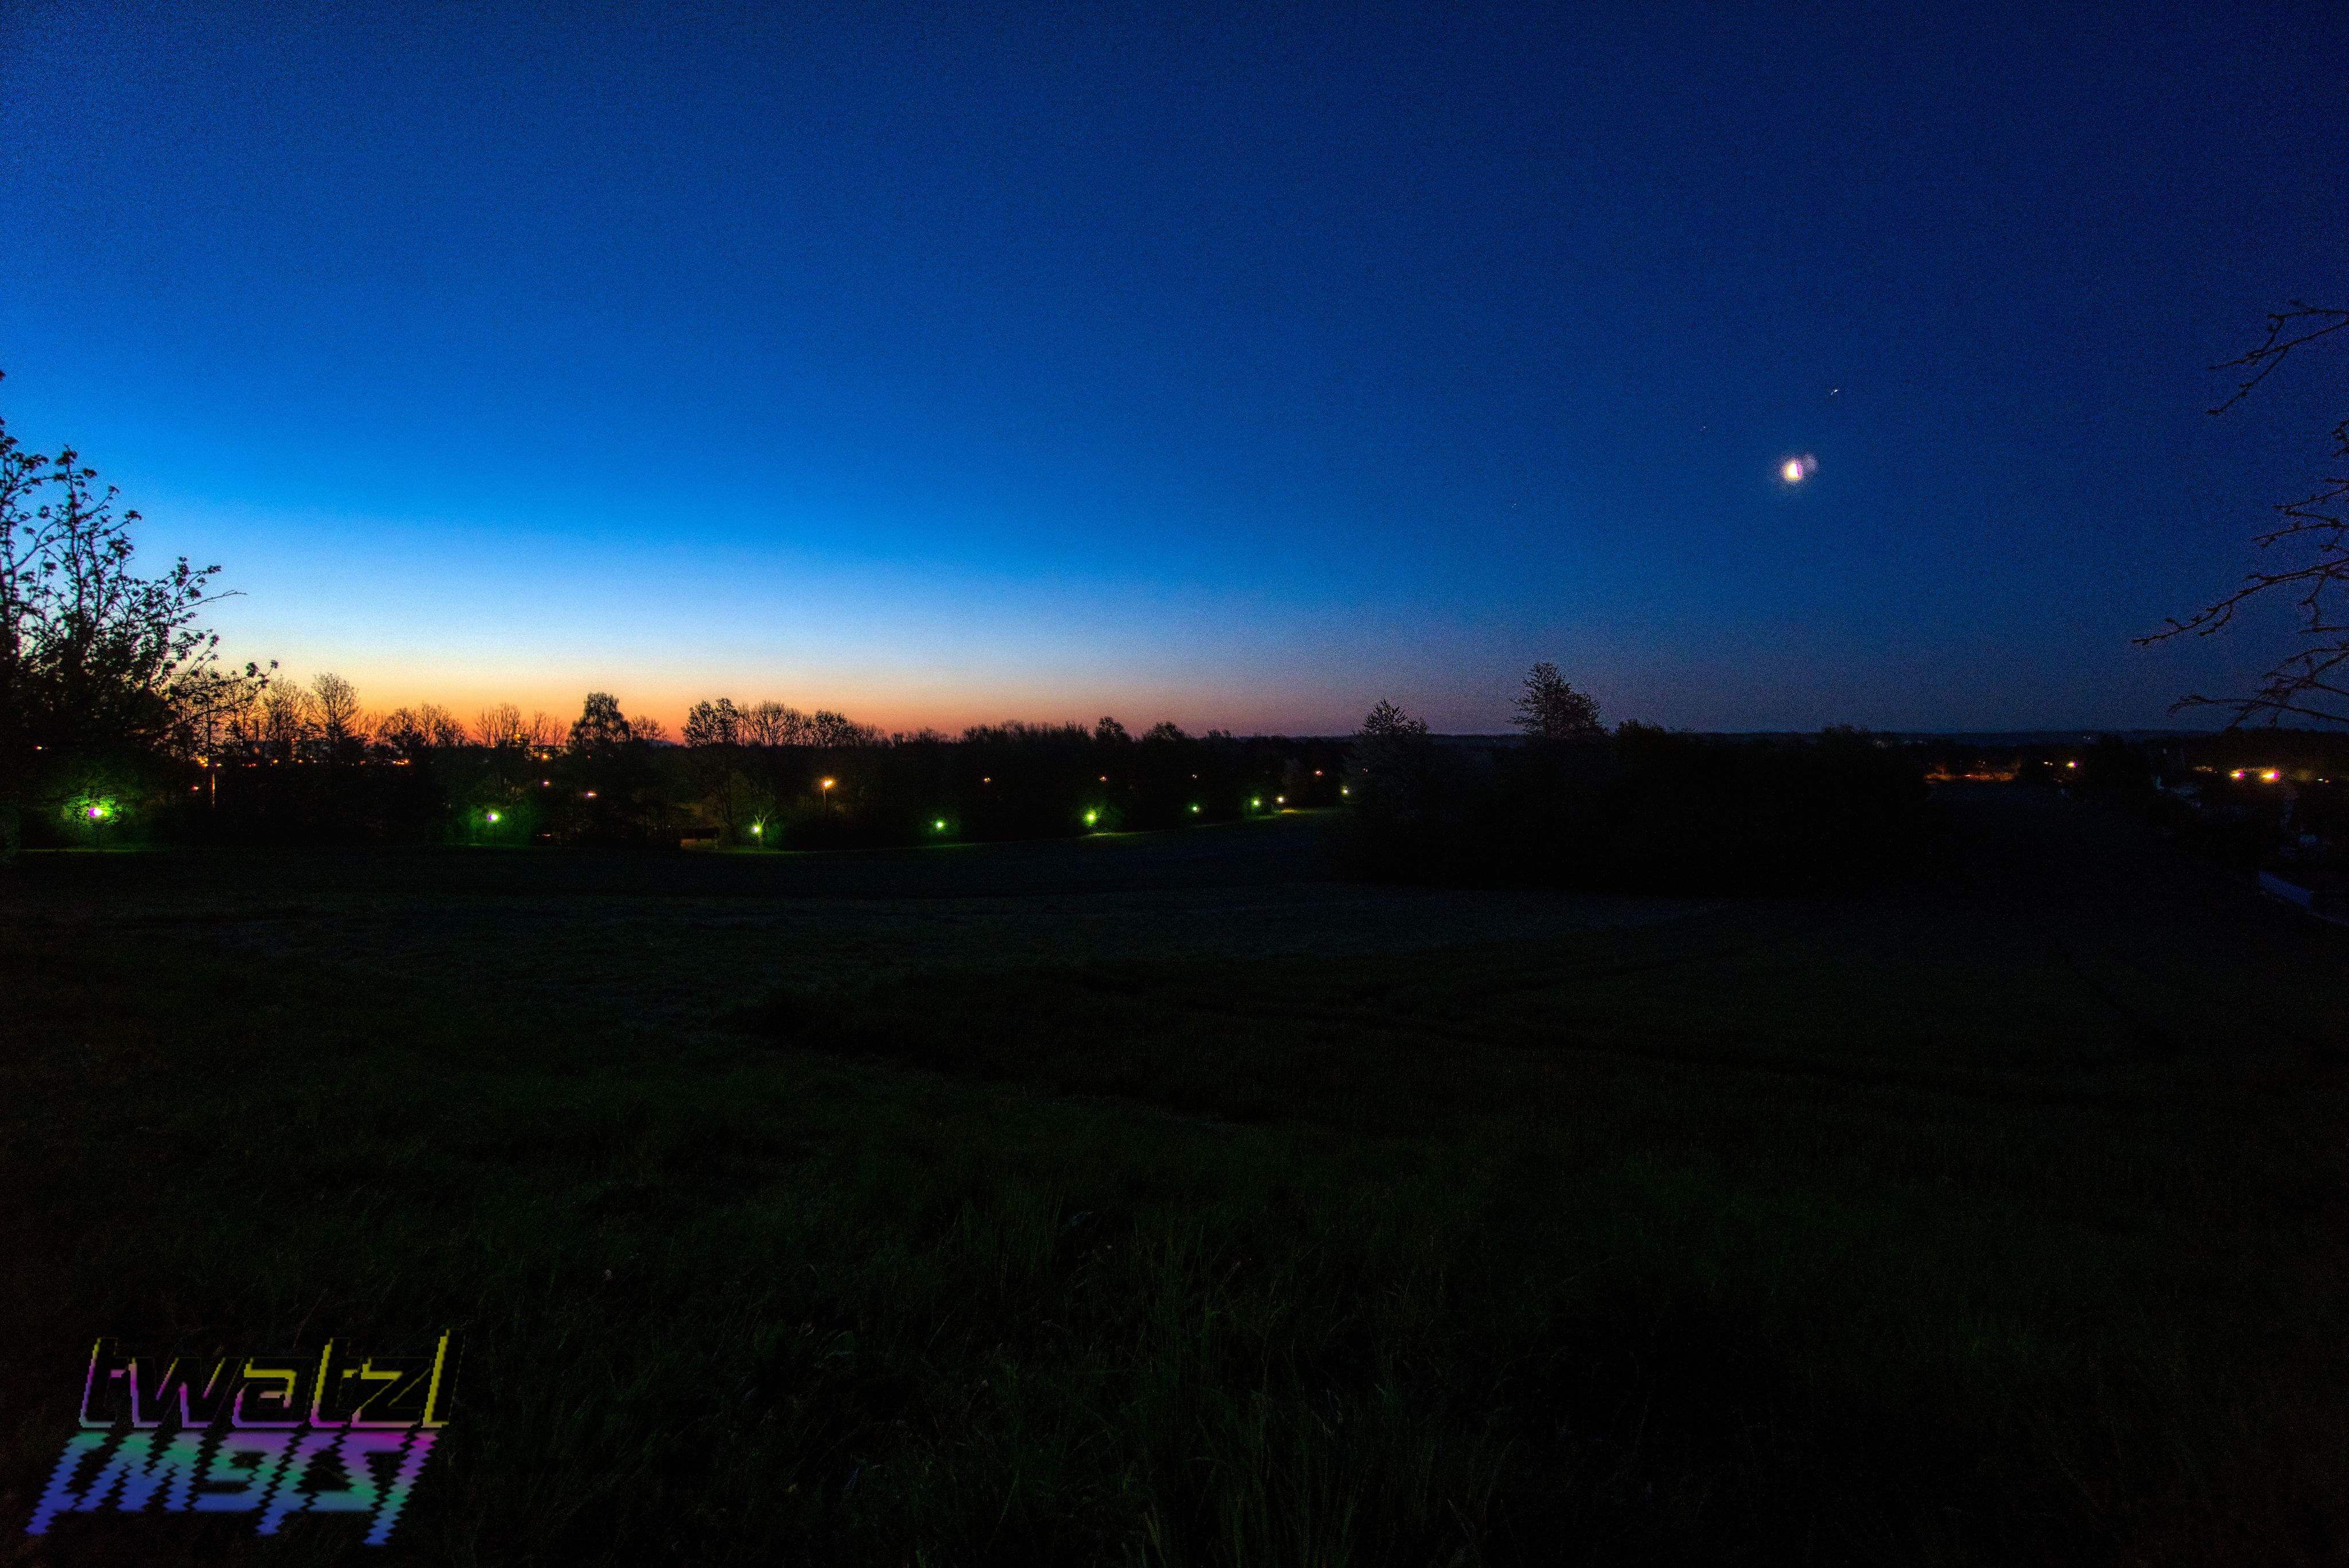
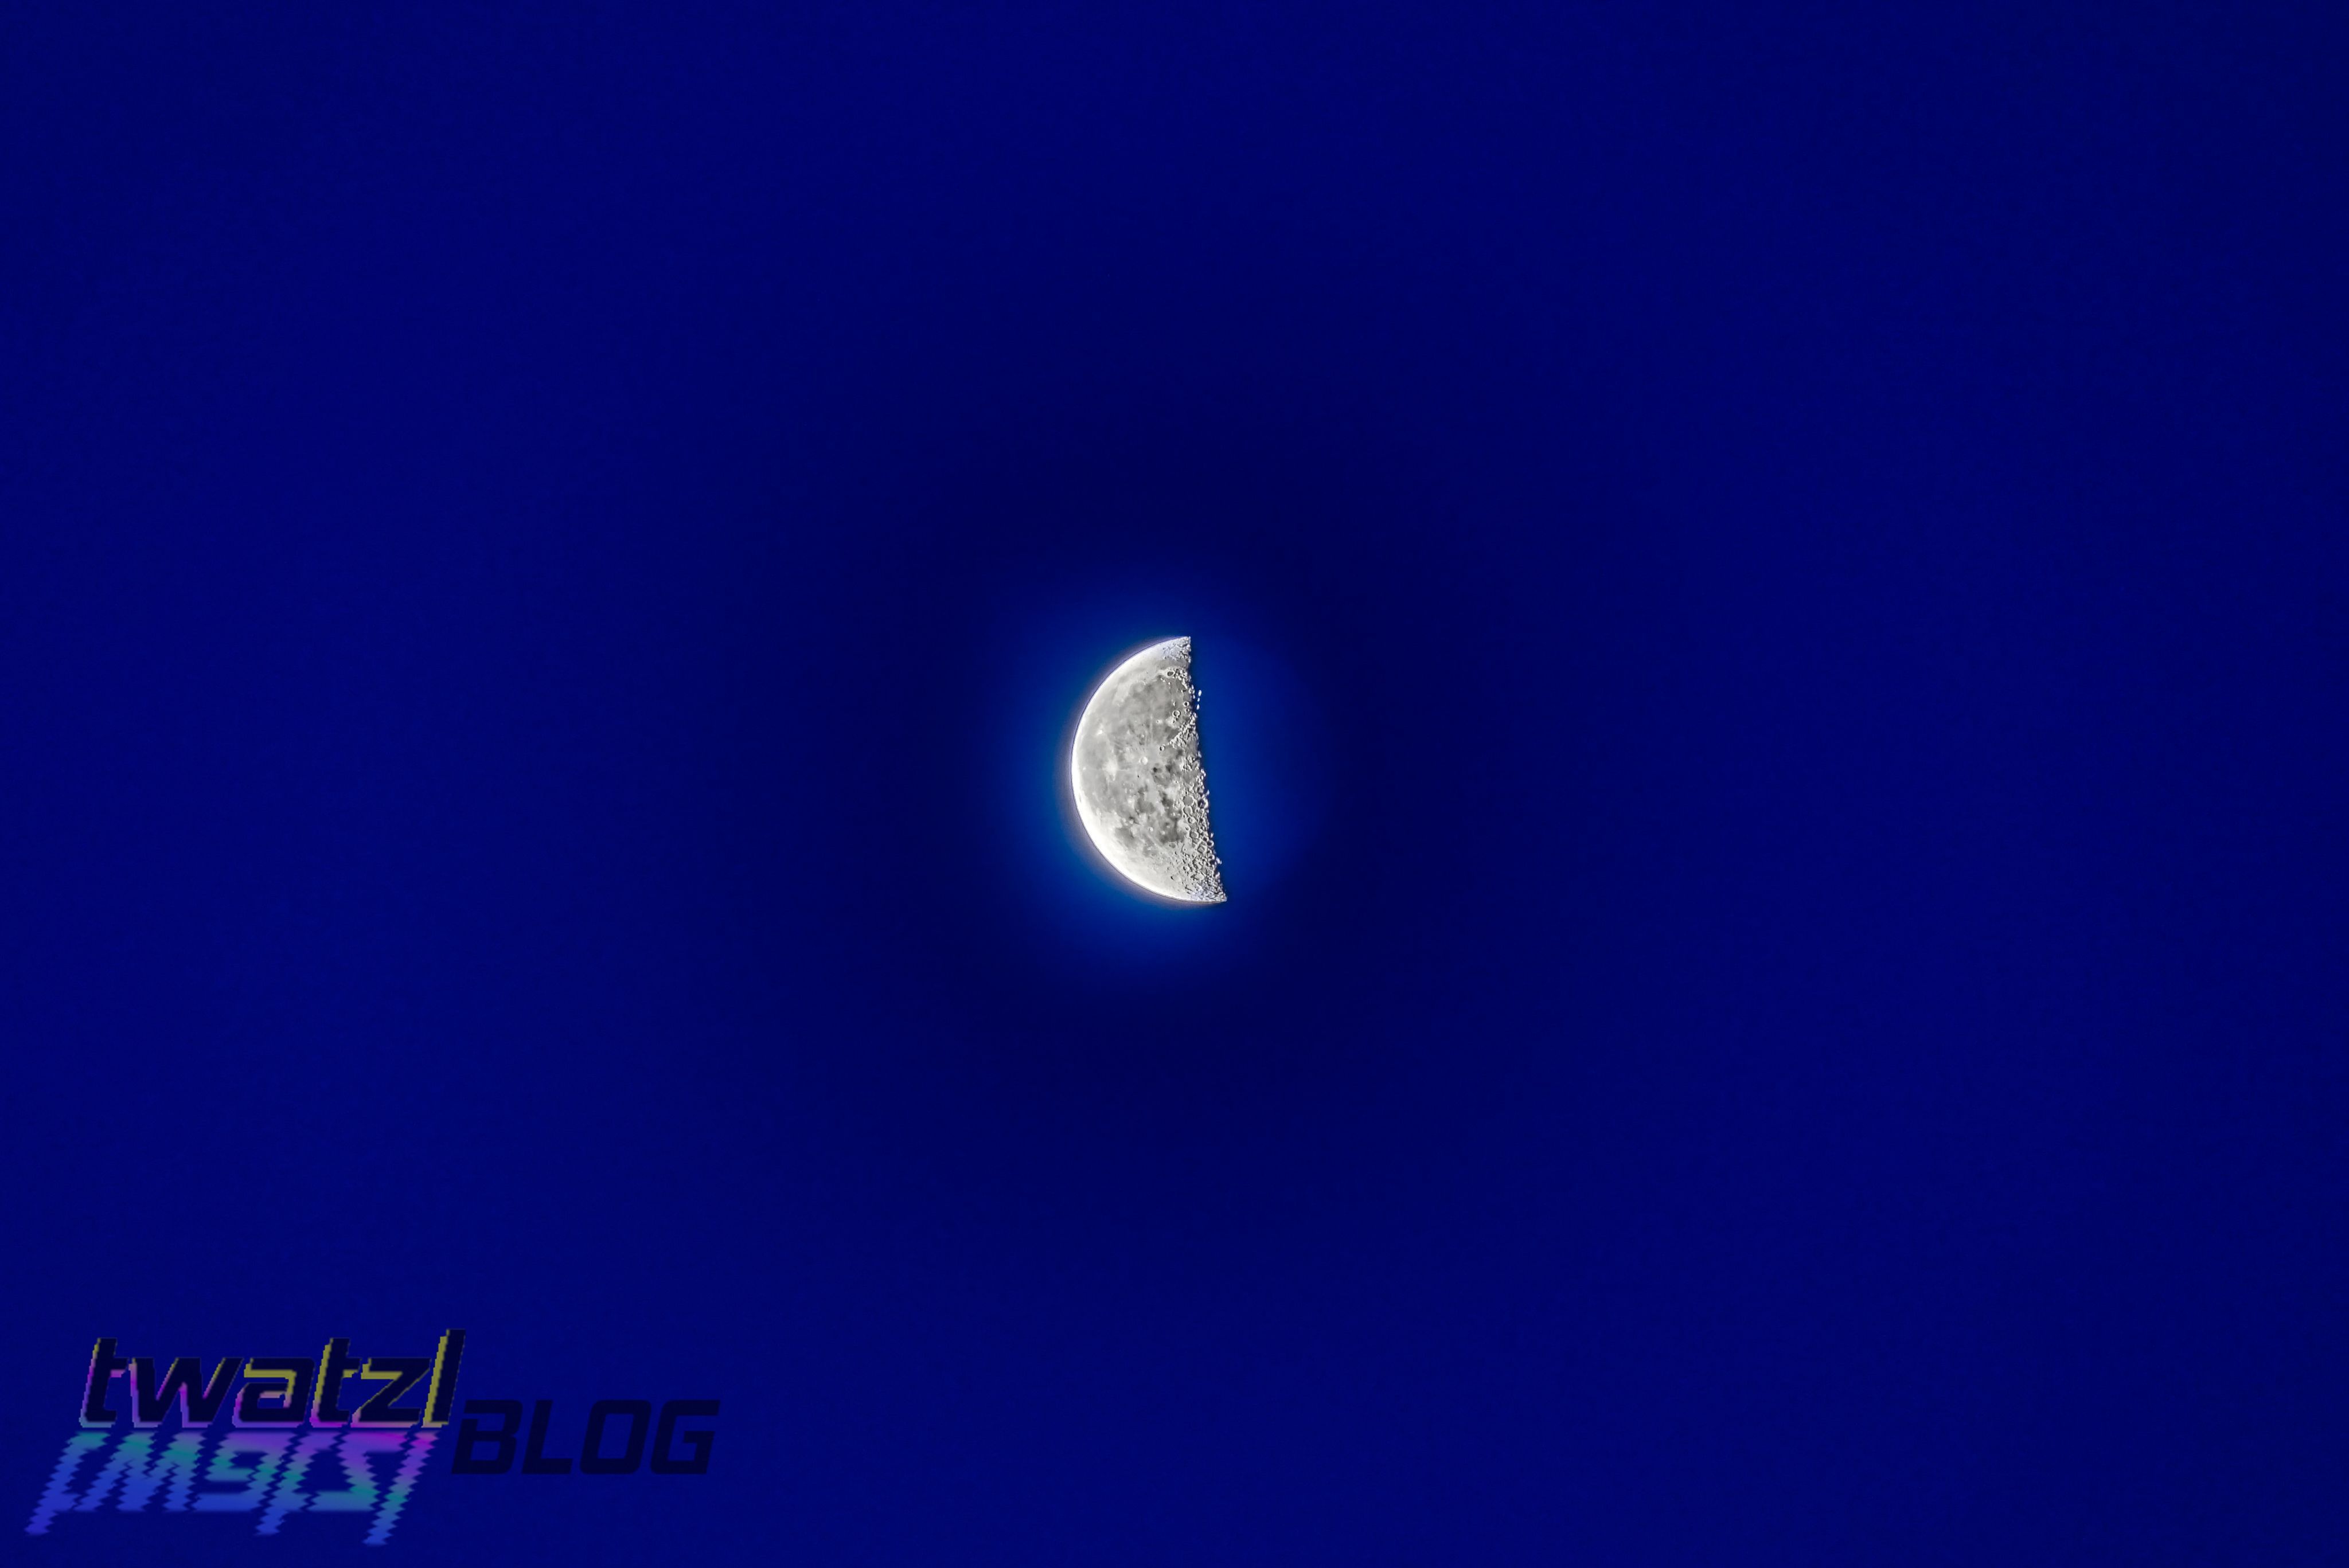
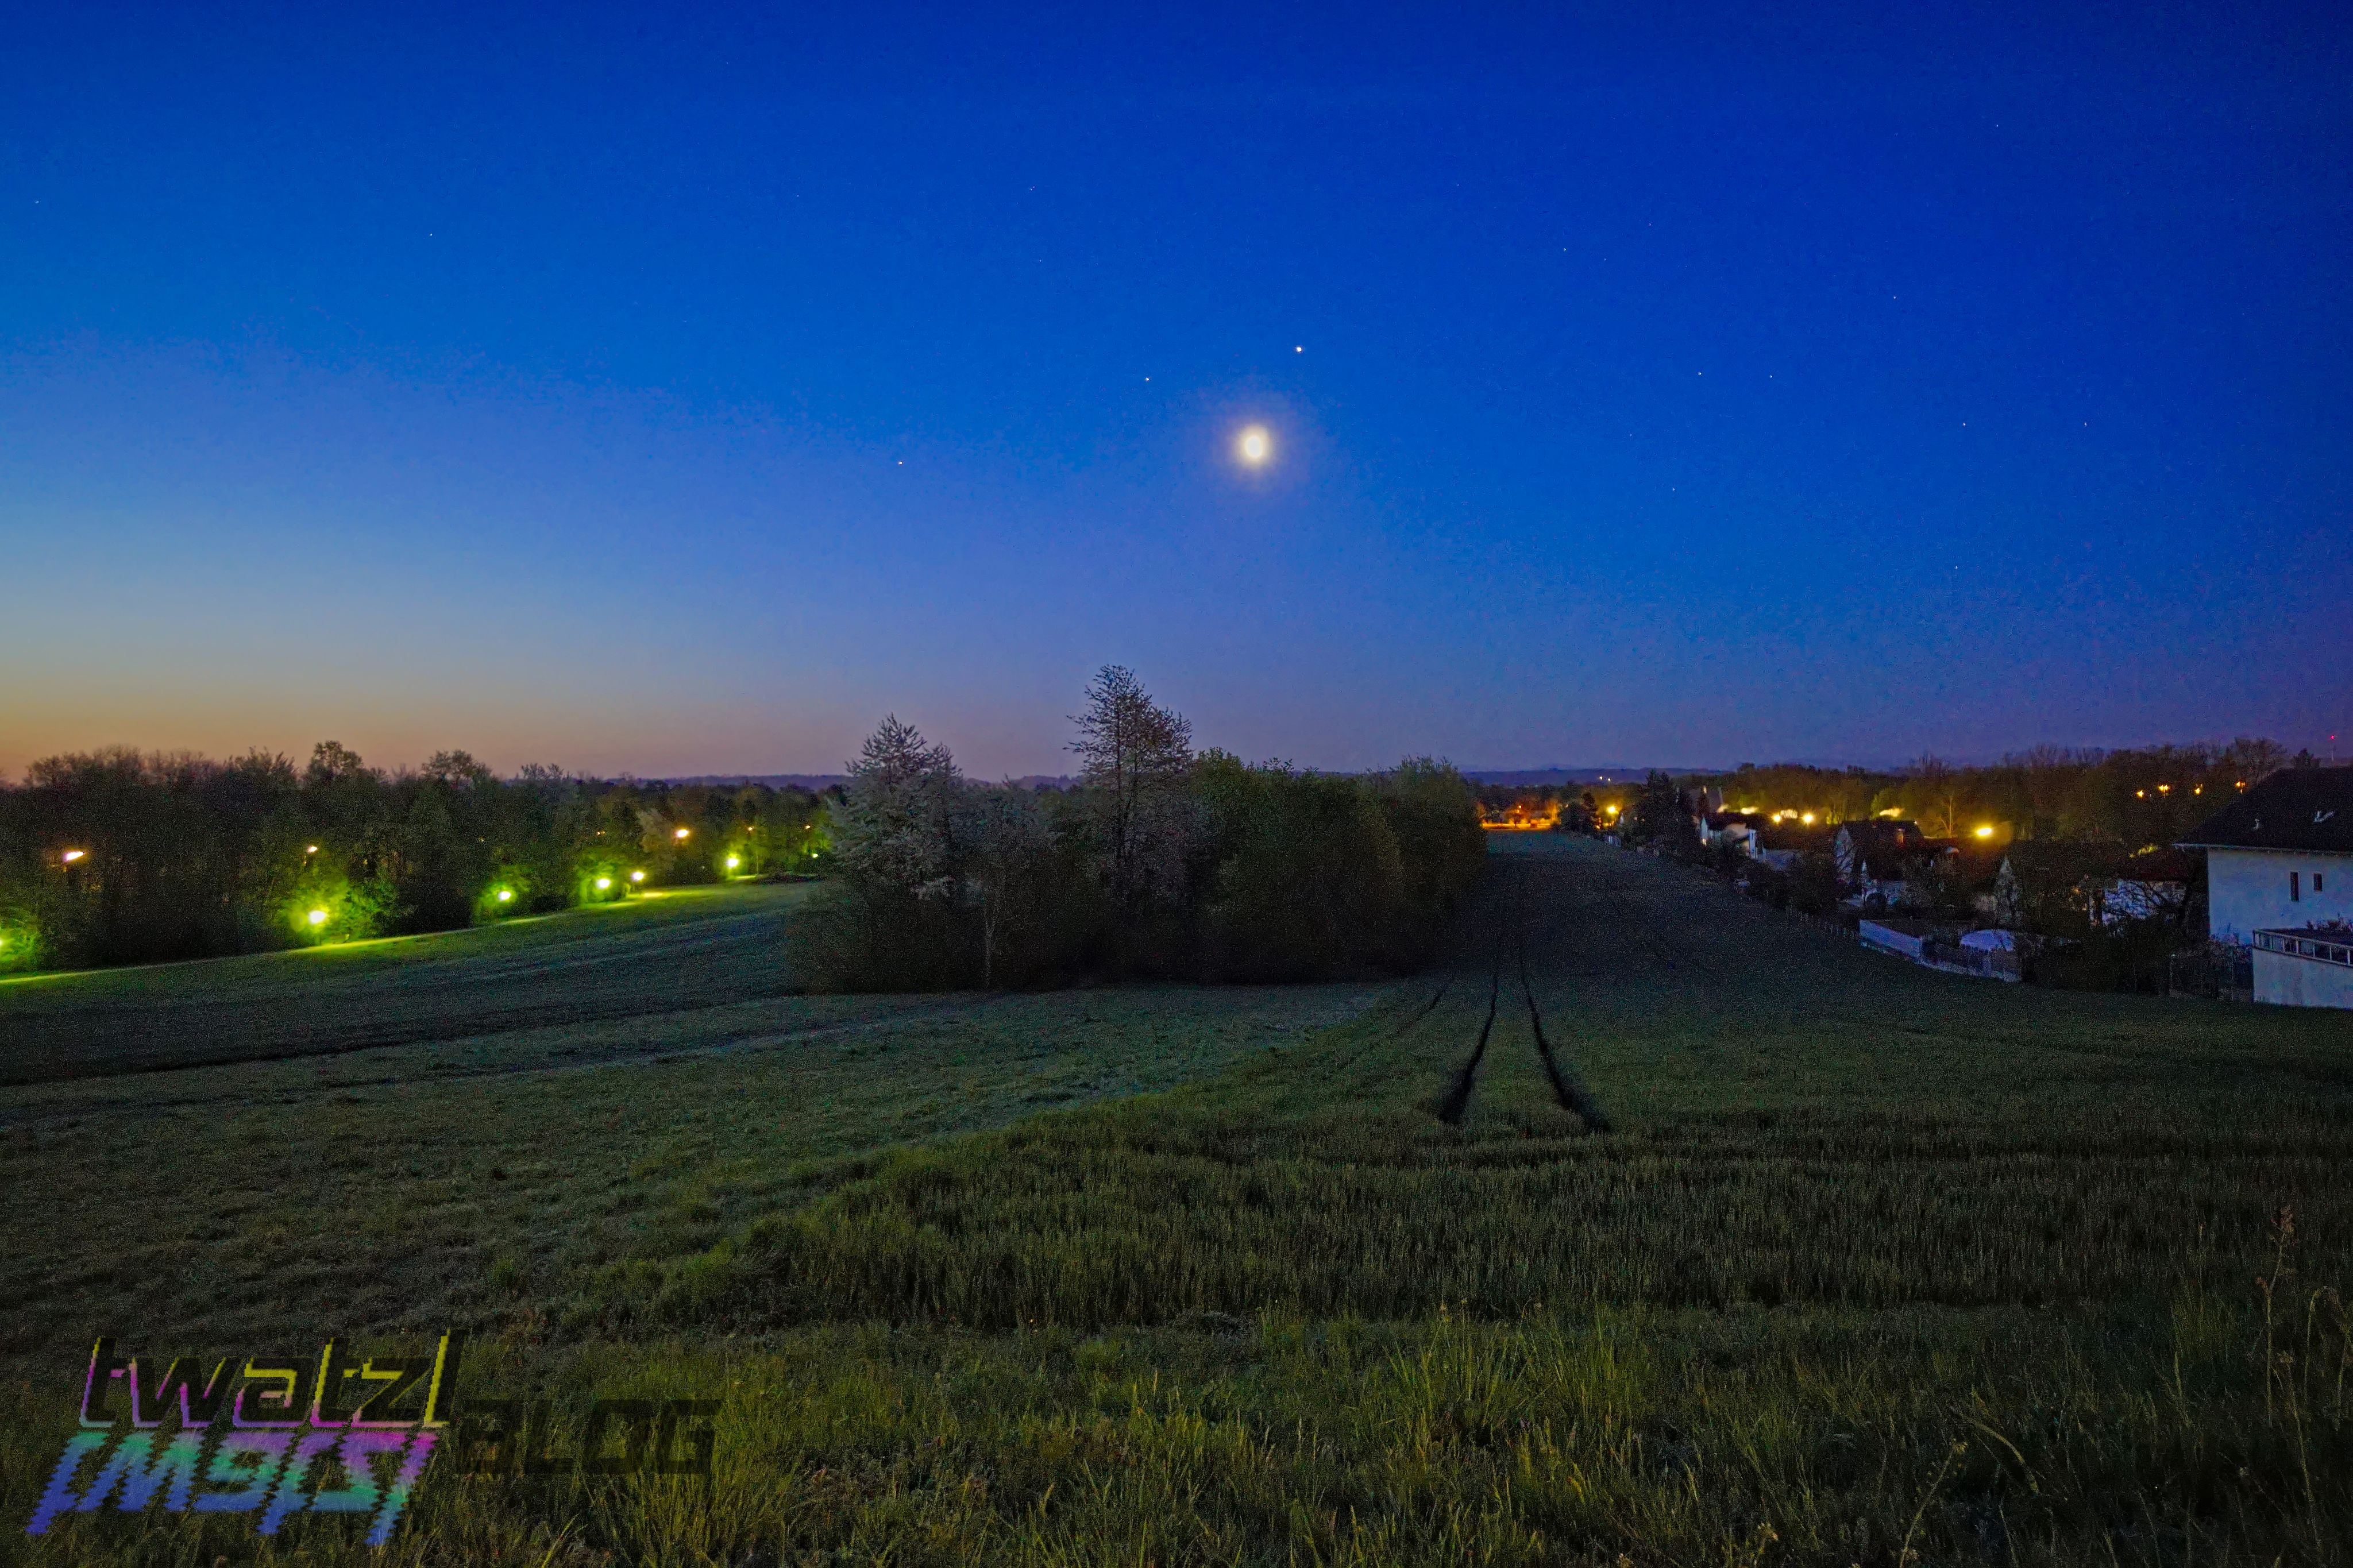
Let’s start with the wide angle shots.

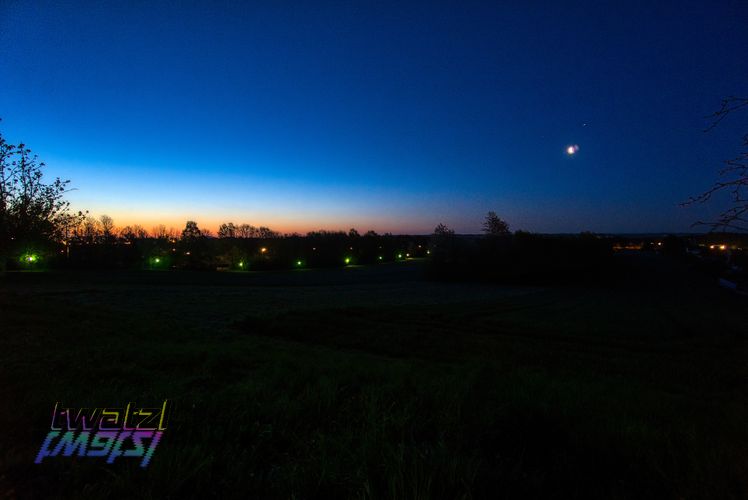
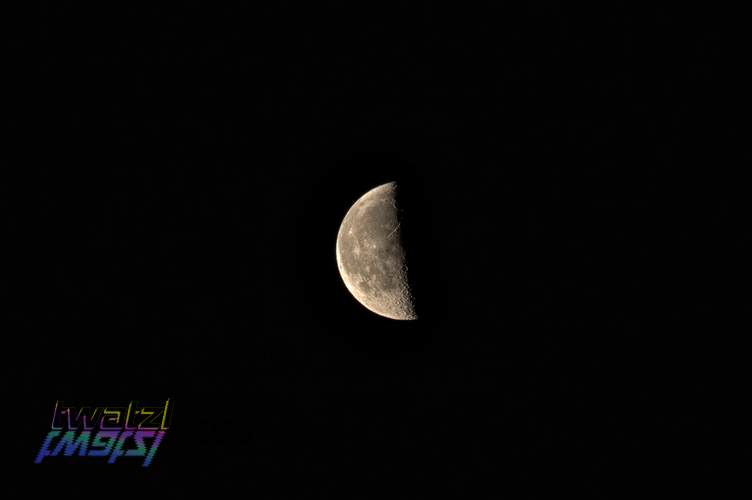
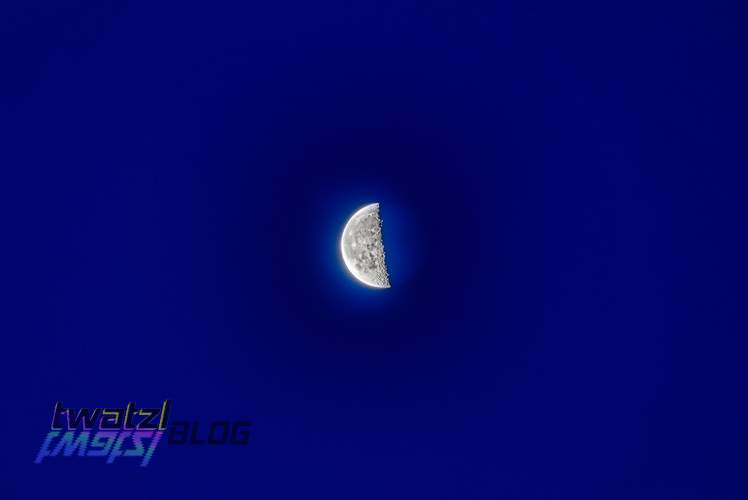
Even on it’s own I think the Moon is a magnificient sight. It is incredible how much detail you can get out with an ordinary telephoto lens.
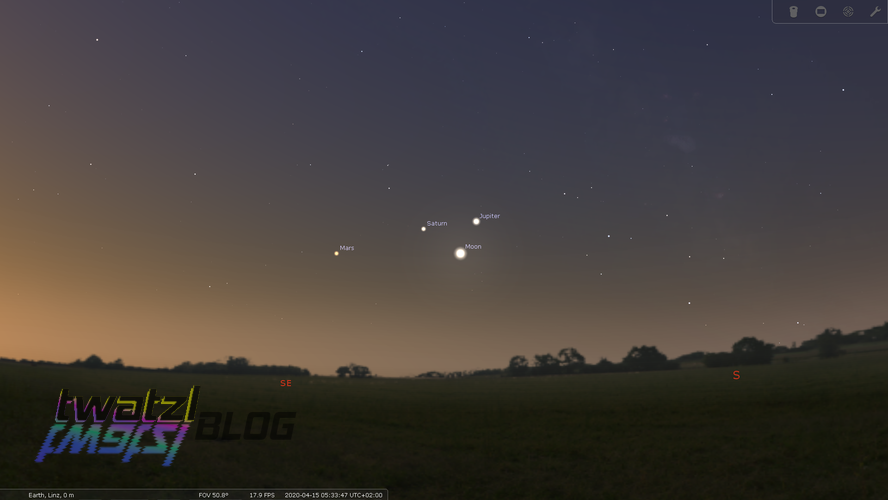
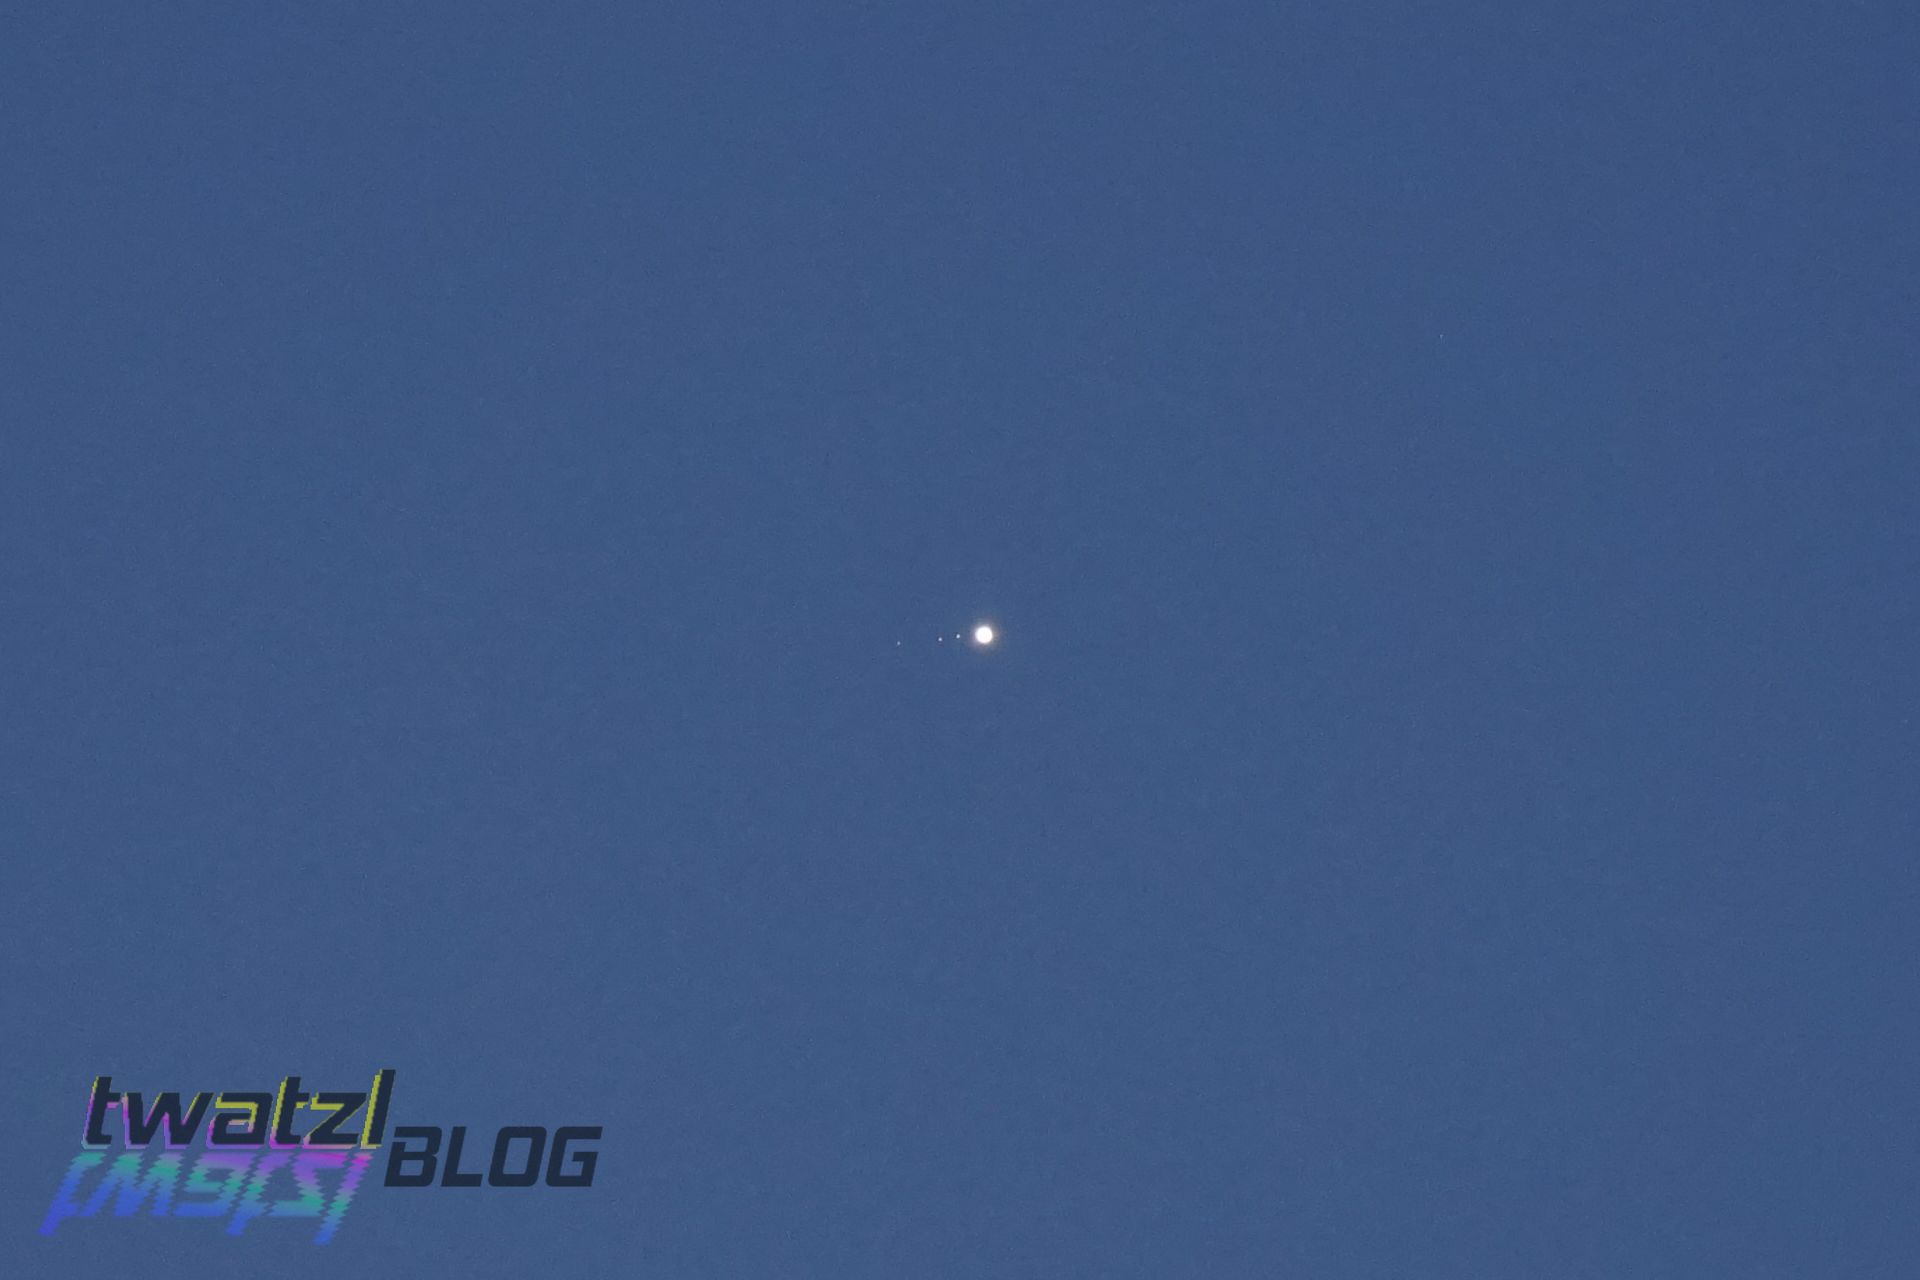
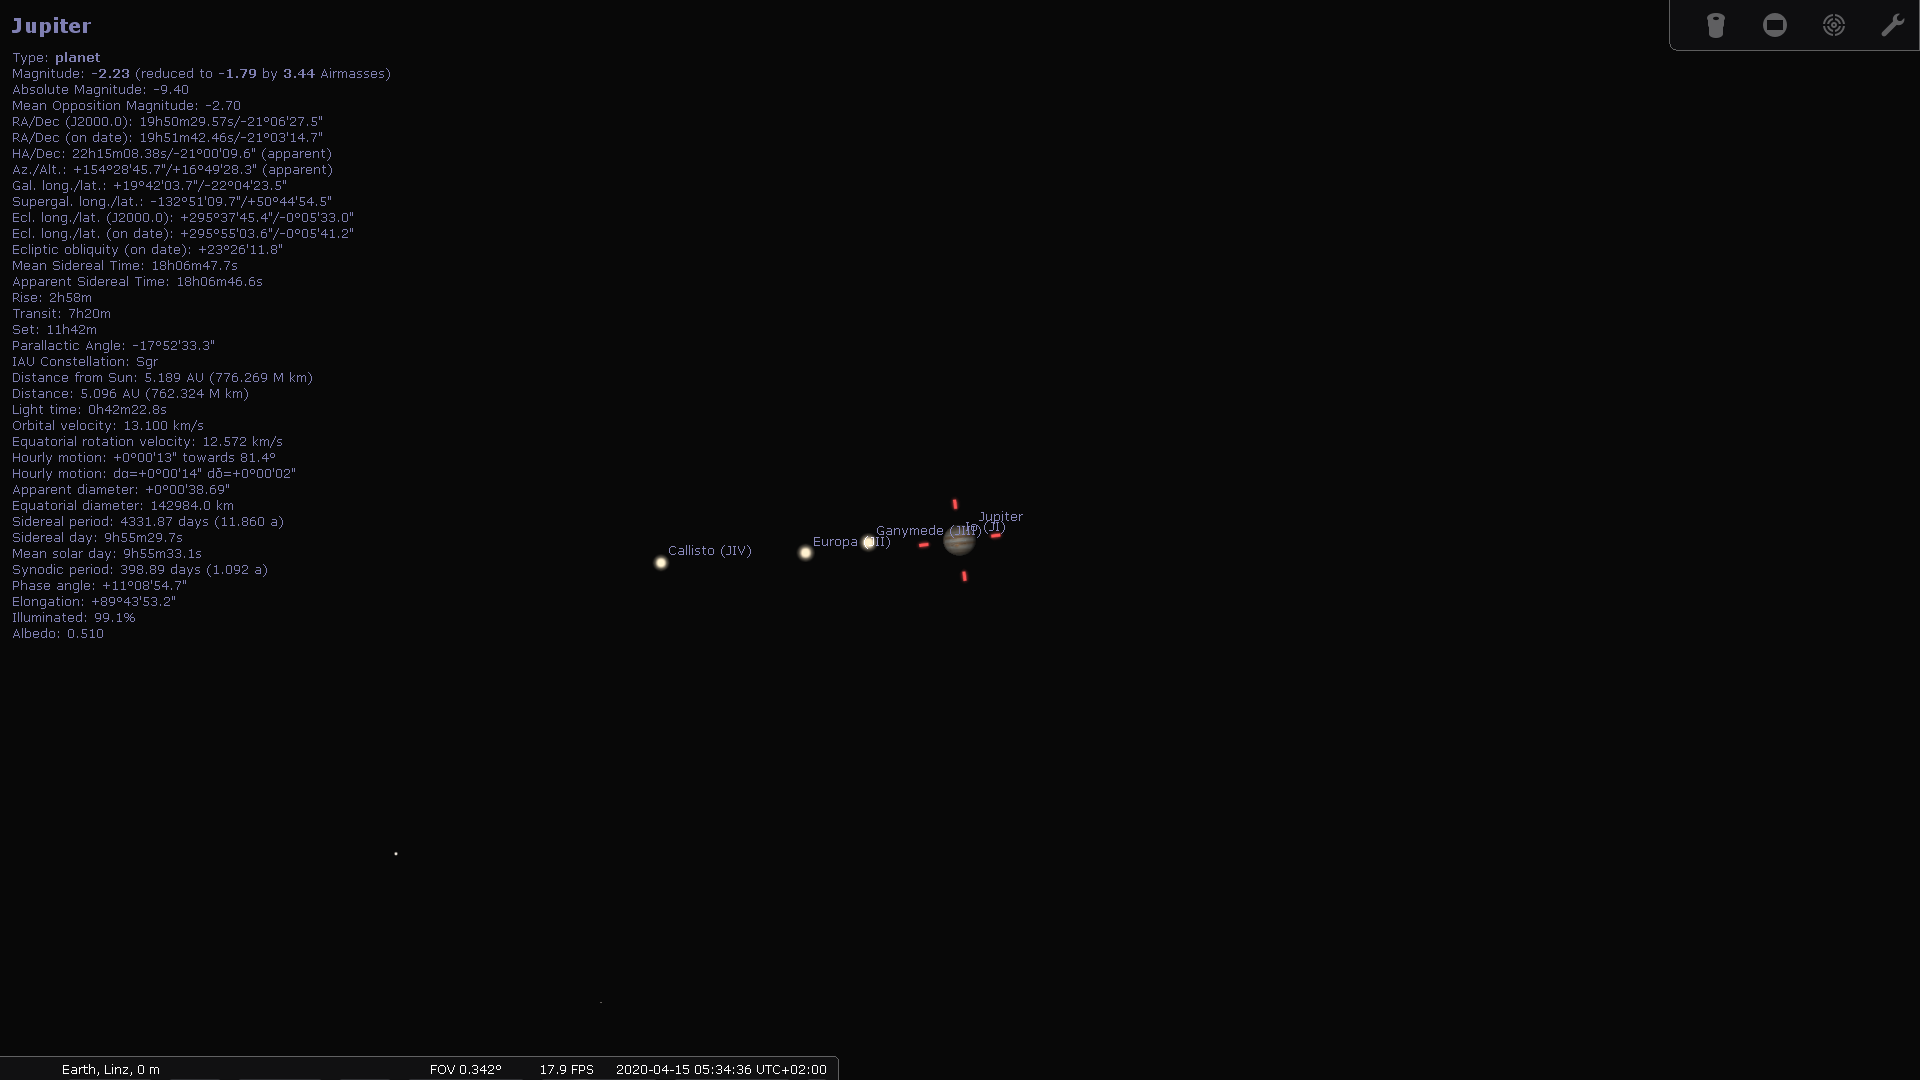
But not only our moon was visible in the night sky. There were also other moons to be seen.

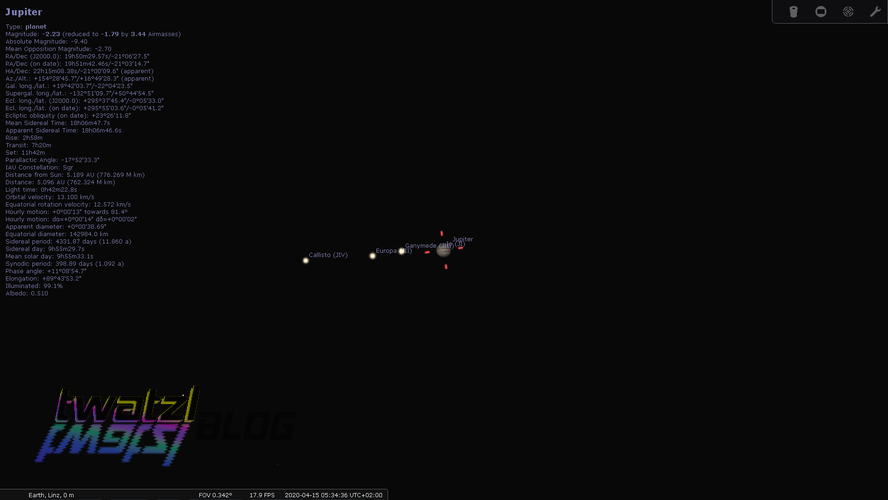
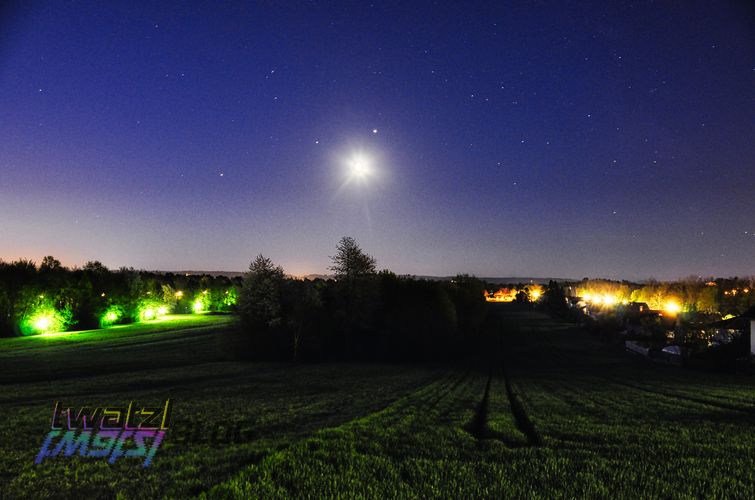
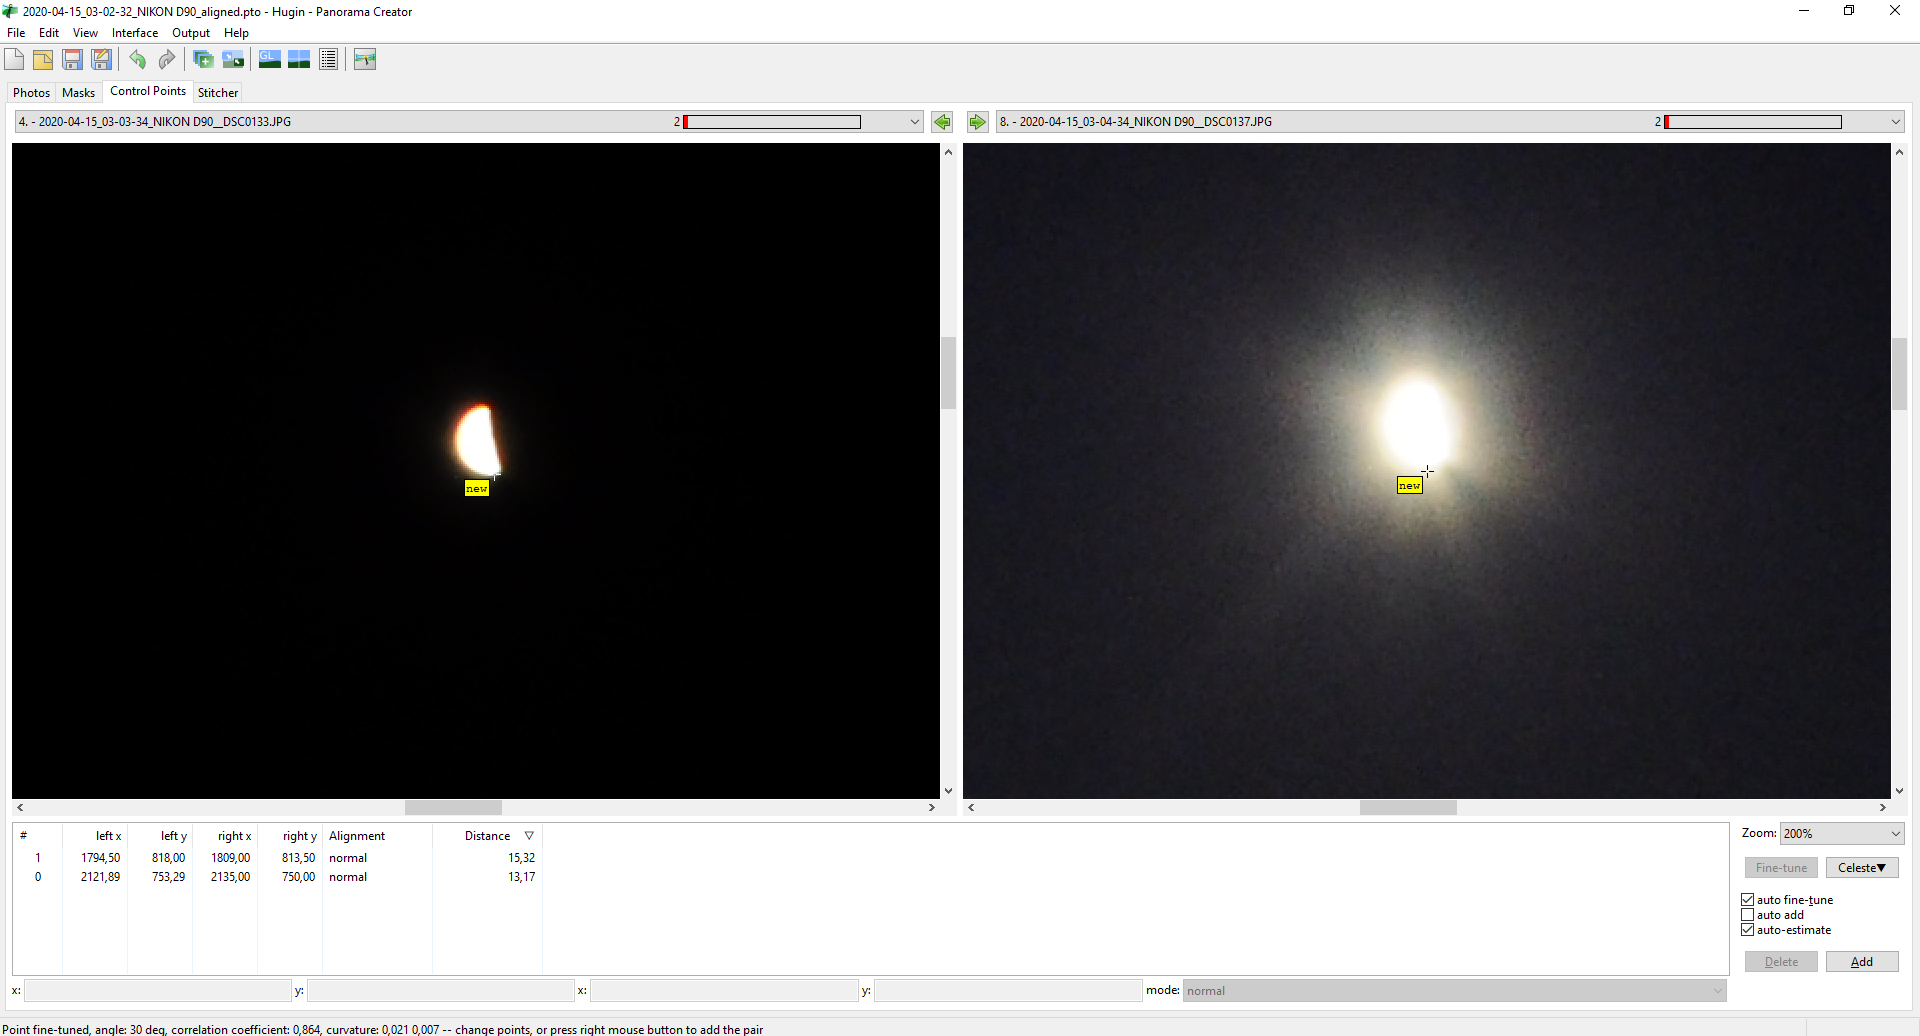
Finally a look “Behind the Scenes”.

The Theory
What I ended up doing is to take a couple of images with different exposure times. That means that some images are extremely dark, while others are extremely bright. Each image contains a certain part of the frame that is just perfectly exposed. Now we combine the information of all of the images and create a resulting image that shows the stars, but also the surface of the Moon. These kind of images are usually referred to as HDR images, although HDR is nowadays also used for images with a specific tonemapping effect applied. The HDR process has been exhaustively explained by others already, so I assume you are at least somewhat familiar with the theory.
In practice I found out that HDR astrophotography is the most difficult form of HDR photography. The reason for this is that despite using a tripod your camera will wobble a bit. After all you have to change the settings. This means that after taking the photos you have to align them perfectly first, otherwise there will be ghosting artifacts. However automatic alignment is very hard for this kind of images. Due to the nature of night it is usually dark and thus software cannot find any outstanding features in the image to align them.
This is further complicated for the wide-angle shots where there is some landscape visible. The earth rotates. From our perspective this means that the stars move and boy do they move fast. For shots longer than 1s the stars will appear blurred on an image already. That means if it takes you 1 minute to take all your images the stars will have moved by quite a bit. And they moved relative to the landscape, which makes it even harder to meaningfully align the images.
Personally I think there are 2 main distinctions for HDR photography, but the line between them is a bit blurry. For one there is HDR in the form of extending the dynamic range and making as evenly lit images as possible. The other form of HDR is to use the tonemapping algorithms to create an artistic image. The line is blurry, because it is hard to say where realism ends and where artistic interpretation begins.
The Software
I usually put off combining my HDR shots in an artistic way up to now. Mainly because I could not really find a satisfying software for merging them. For extending the dynamic range I found the tool HDRMerge super useful. It is a very simple concept and just merges multiple raw images into one image which you can then develop using your favorite raw developing software, however the tool is rather simple and the approach comes to it’s limits when it is about artistic interpretations.
For artistic HDR there is the open source software Luminance HDR which is praised by some, however I don’t really like it, because I don’t know what it does and I cannot really find any documentation for all the parameters, algorithms and so on and the results did not convince me. Another open software I found was enfuse ui, but it also was complicated to use. Many use expensive commercial software from a market leader for HDR images, but I don’t like the idea that I have to pay monthly for something i might not even use. Additionally I can no longer open my files after I stop paying or the company decides to shut down the service. So normally I use the Nik Collection for merging my HDR images. I obtained my copy during the period when it was free, but since it was originally developed as an Adobe plugin I had to set it up with XnViewMp to work correctly and I have not set that up yet on my new PC and it just felt too cumbersome.
So I searched further for HDR software and could not find anything good in the open source community. Then I stumbled upon Aurora HDR. Aurora is not free, in fact it costs 100 Euros, but I gave the trial version a chance and I must admit I am very impressed. The only thing Aurora struggled with was the image alignment, for the aforementioned reasons. So I snapped it together with Hugin and out came the following workflow:
- Align images in Hugin
- Load images in Aurora and merge the HDR
And I must say this workflow is very satisfying. With Hugin I have a great deal of influence on the alignment. If necessary, for example due to difficult lighting, I can manually intervene in the aligning process.
Aurora is an amazing software. What makes it unique is that it allows for layers and masks, which gives you a very good control of how you want to style different parts of the images. This is especially useful for the moon’s lit surface, which is so much brighter than the rest of the image.
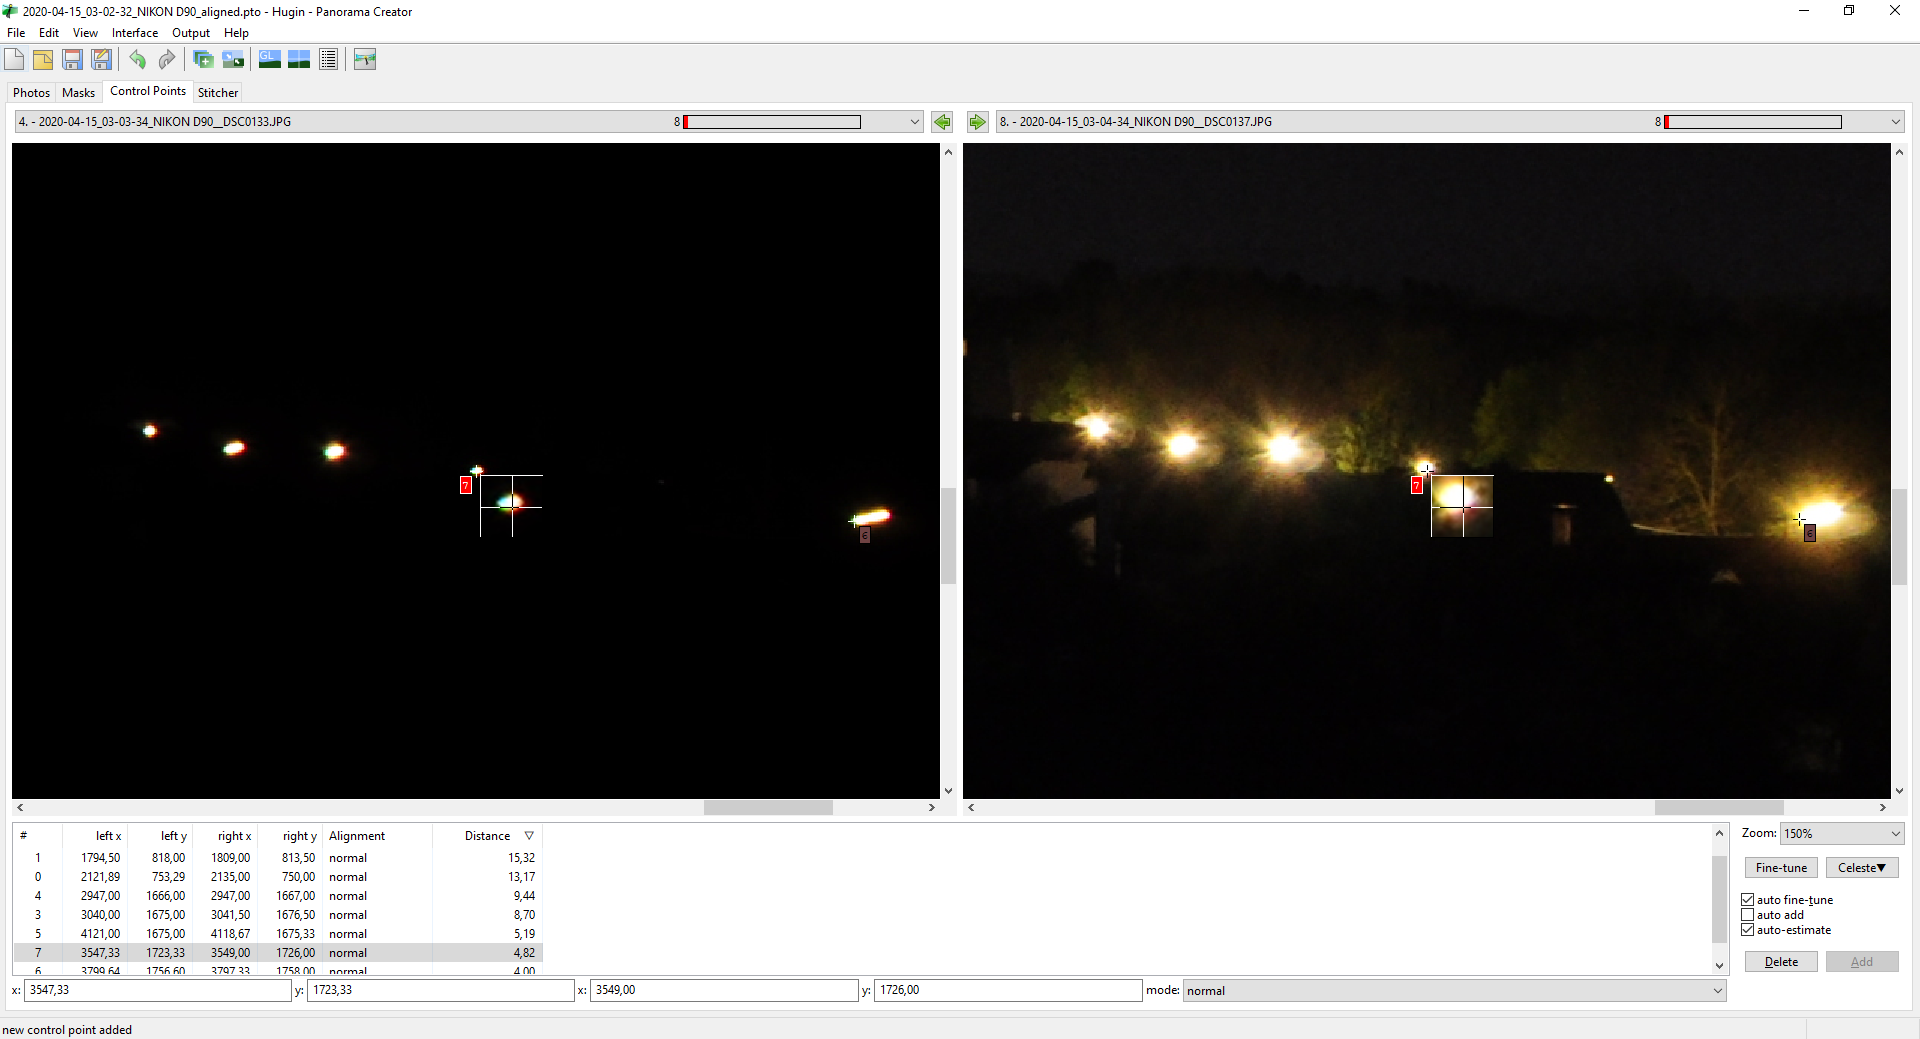
Hugin
In case you want to use Hugin for aligning I will quickly go over the settings used for this. I assume you have changed the interface to “Expert”.
- load the images
- when Hugin asks for stacks just ignore it (this would be a hint for Hugin that the images within a stack need no alignment)
- Use “Align image stack” for Feature Matching setting
- run “Create control points”
- switch to the stitcher tab and select “Rectilinear” projection (most lenses are rectilinear, check for yours before)
- switch back to the photos tab and click “Calculate” for Optimize -> Geometry
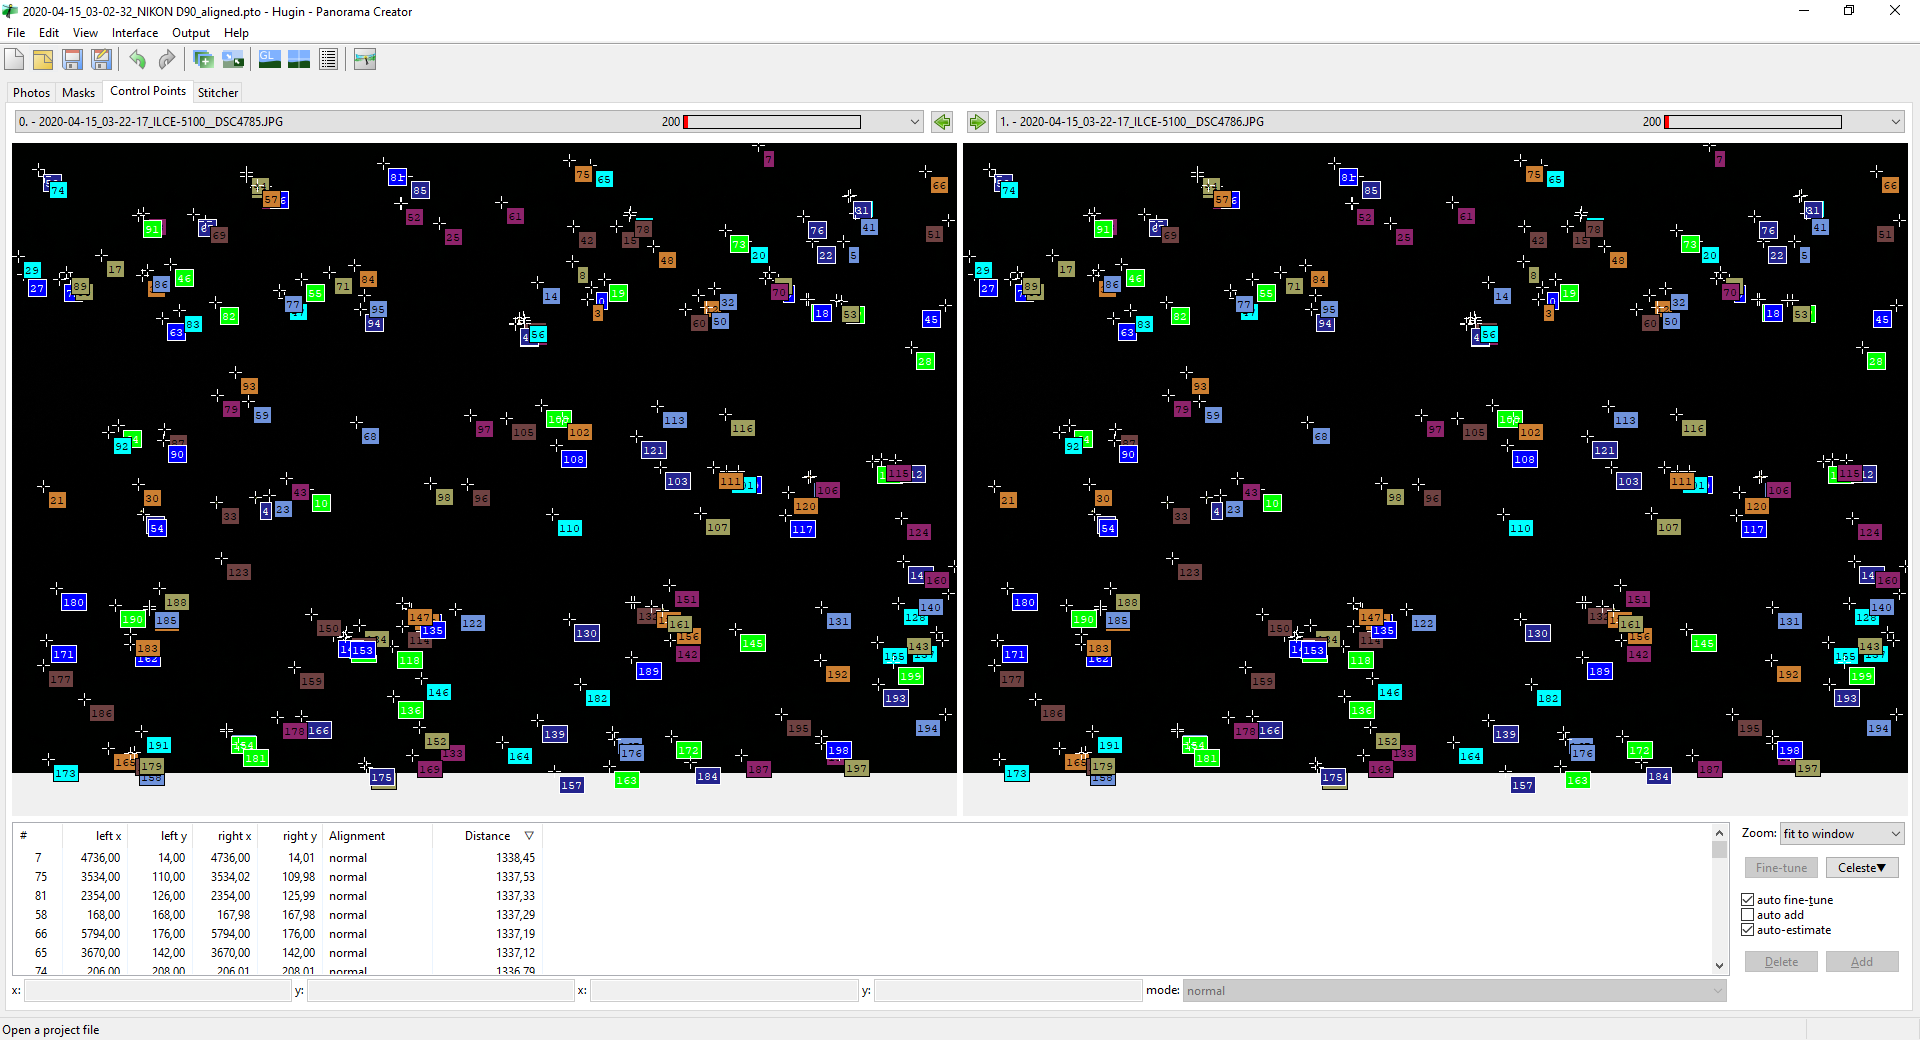
Now you should have control points connecting your images and the images should be basically aligned. Usually this works quite well, however with astrophotography pictures it might be the case that the exposure difference is too big or the stars are too dim for Hugin to find control points. In that case Hugin allows to manually create and adjust control points.
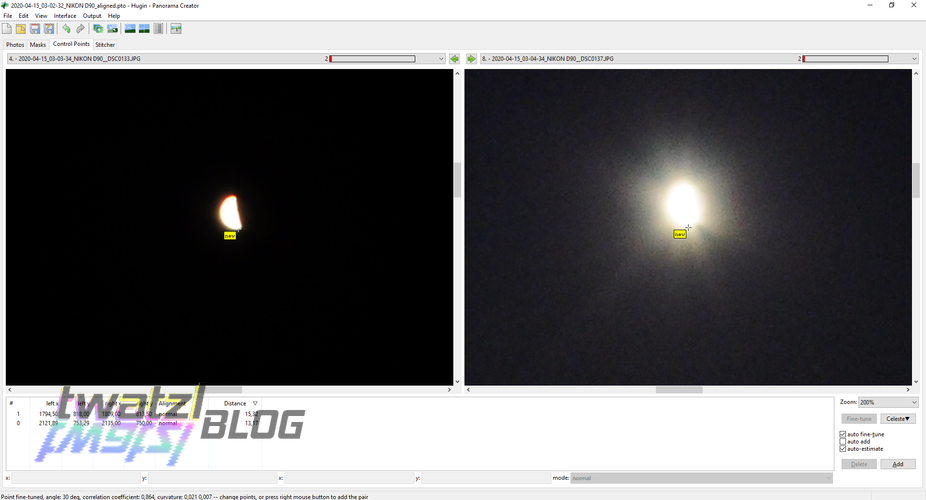
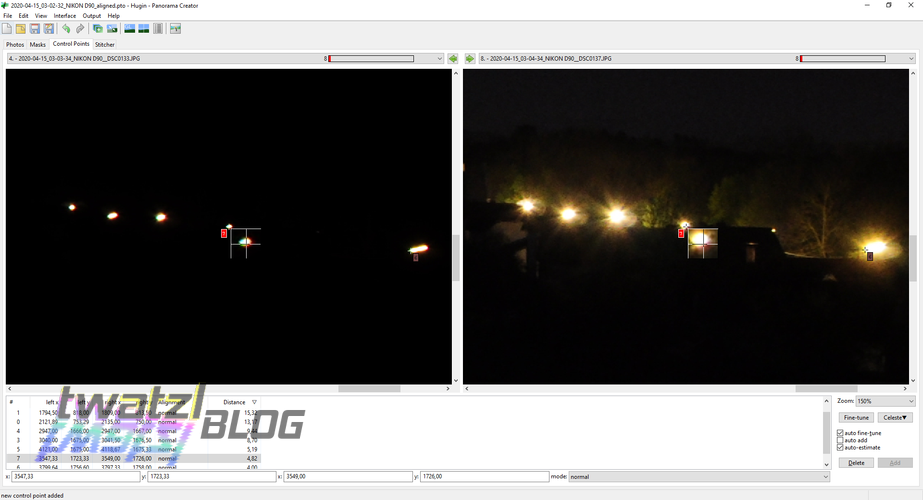
Whenever you changed the control points you need to run step 6 again and see in the preview if your images are aligned well.
After your control points match you can then go to the panorama preview and do the following:
- switch to “Move/Drag” tab
- press center and fit
- switch to “Crop” tab
- press “HDR Autocrop”, this will crop the image to an area where multiple images are overlapping
Then close the preview again and switch to the stitcher tab. There you can select the desired outputs. For further editing in other tools I use “Remapped Images - No exposure correction, low dynamic range”. Before running the stitcher I usually press “Calculate optimal size” to get the best resolution possible.
Then you just have to click “Stitch!” and wait for the magic to happen.
I think this demonstrates how awesome and versatile Hugin really is. I might also do a video tutorial on this in the future. If you want to learn more about Hugin works then you can also checkout my Tutorial Series on YouTube, which I am creating at the moment.
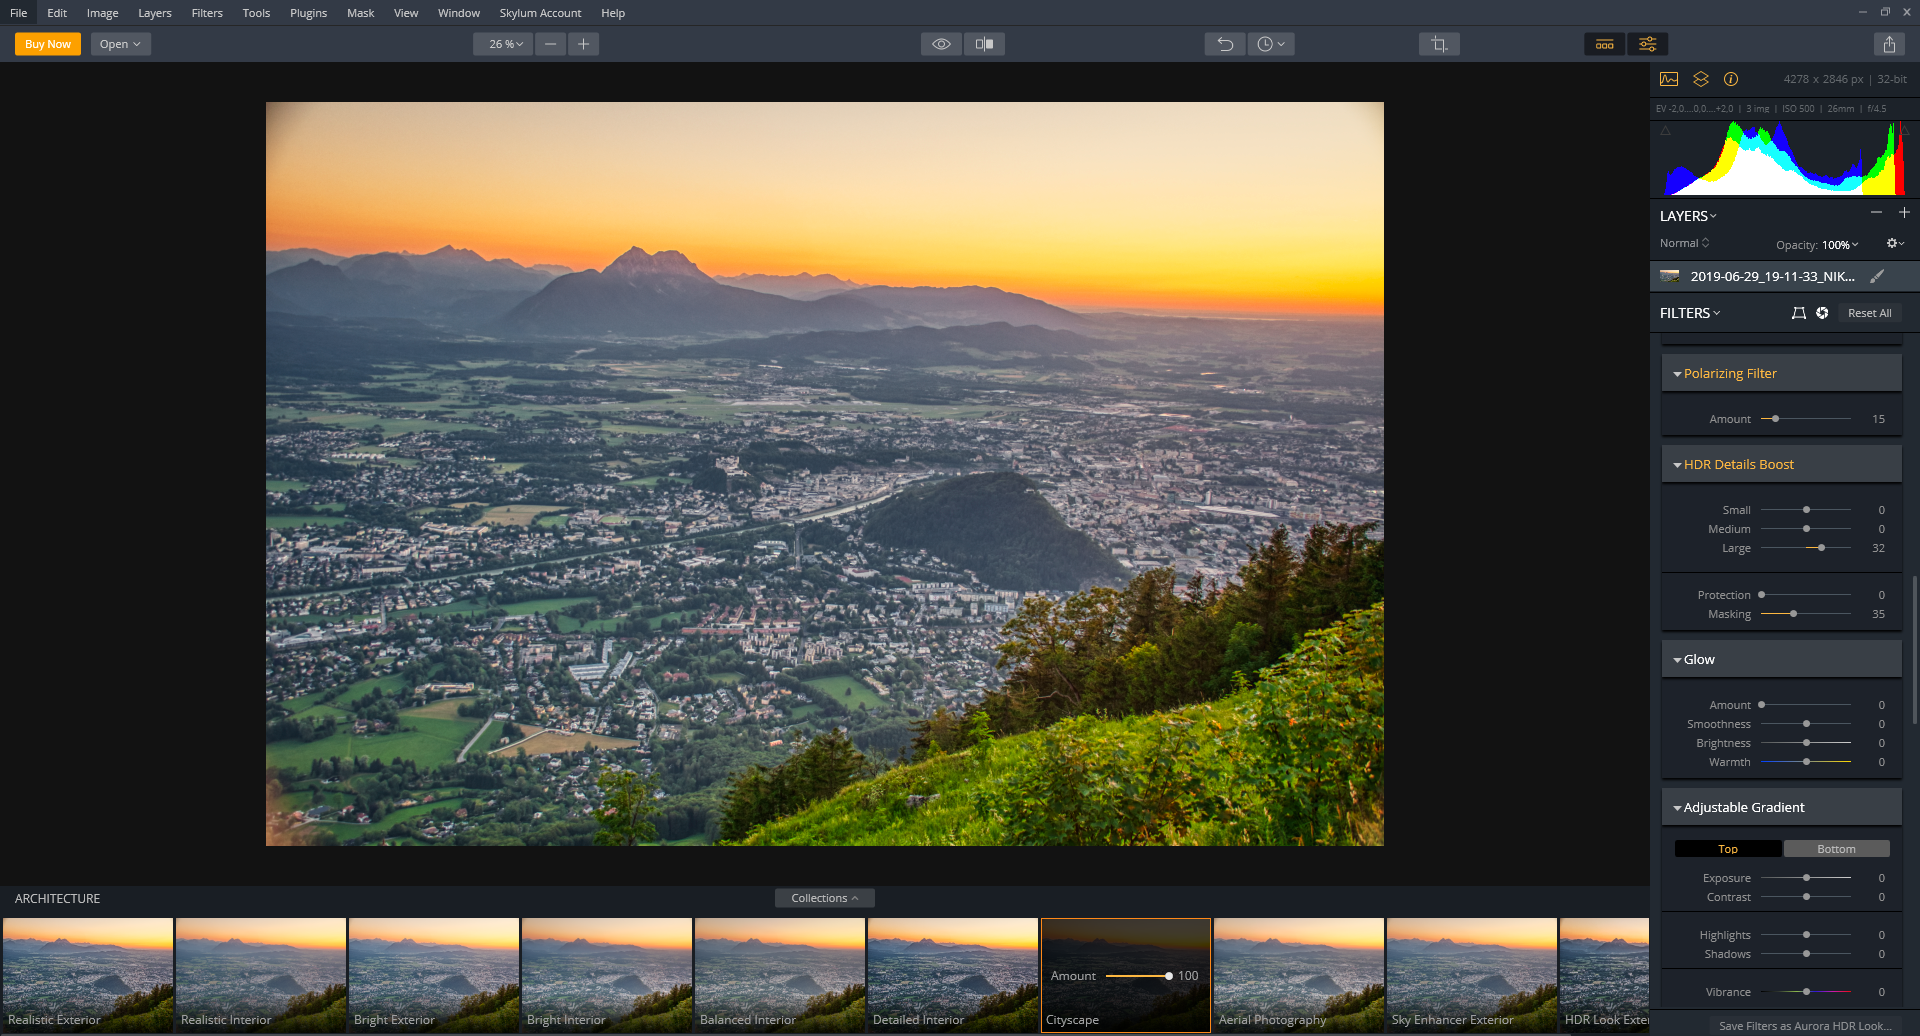
Aurora
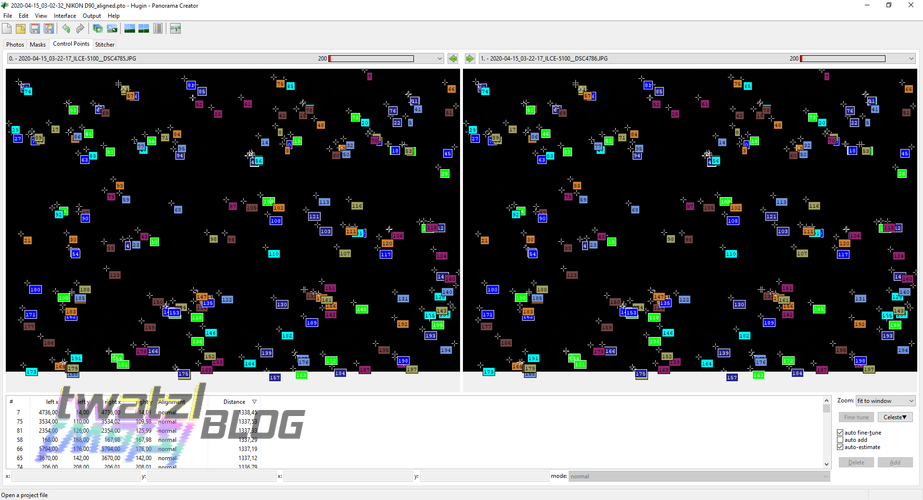
So the workflow in Aurora is super simple if you have some experience with Raw images. It can either load raw or jpg images and combine them. Optionally it can align them before for you. Since Hugin is not 100% accurate for some shots I tried using also the alignment feature of Aurora, but you have to play around yourself. For daylight shots I found the alignment of Aurora to perform very good, for nighttime not as good, but that is to be expected and Hugin only works so well because you can manually interfere with the alignment process. Humans are after all still a lot better than computers.
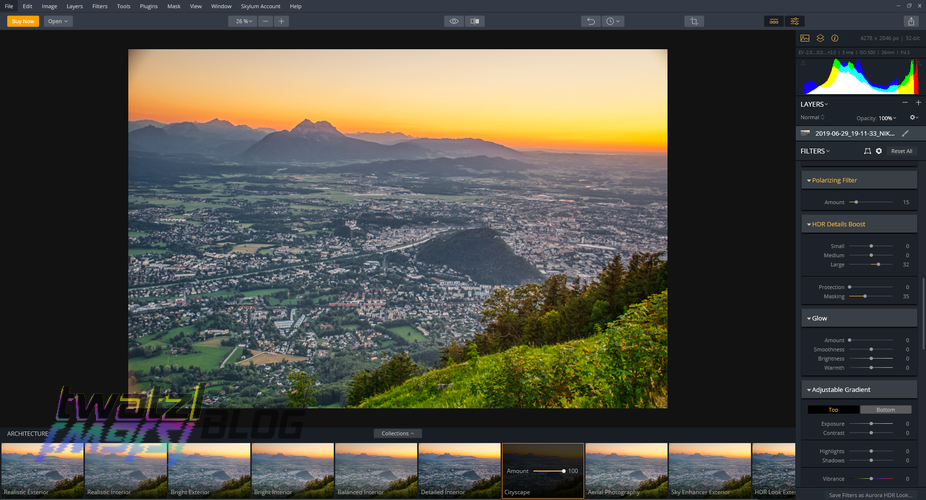
After aligning the images it is basically like developing a photo from raw with a couple of extra features. One of the nicest features is layers, which allow you to precicely control the outcome by manually selecting areas of the image you would like to style differently.
Raw vs JPG?
If you are a hobby photographer you are for sure well aware about the discussions wheter to use jpeg or raw. Usually people recommend raw because there is more information stored and this is true. Raw format uses a different compression algorithm which is usually lossless as compare to jpg. That means if you store a raw file 100 times you will still have the same information in it while a jpg file loses information after each save. Another factor is that raw has a higher “resolution” in terms of colors. Usually colors are saved in RGB. That means there are 3 numbers stored one for red, one for green, one for blue. In regular jpg each of the channels has 8 bit or 256 values available. That is not too much. Raw on the other hand offers 16 bit per channel or 65 536 possible color values. So it offers a lot more granularity than jpg. That is the reason why raw developing offers so many more options, because there is a lot more information left. The downside is that raws are usually quite a bit larger than jpgs.
In this case however I opted to use the jpgs for making the stacks. The reasons are quite simple. We are using ~10 images per stack with different exposures. There is no need for the additional information from raw images because we already get that through the number of jpg images. Also there is no real need for adapting the exposure from the raw images since we have different exposures already. And secondly Hugin only works on jpgs. It is simply a limitation of the program, but I think one that does not hurt too much.
Testing Aurora with other images
I was so interested in Aurora that I decided to fully utilize the trial period and do some more HDR images. I also thought I have to give it a fairer chance by also using it to create daylight HDRs. After all the merging of night HDRs is particularly difficult as we have seen.
So I did a few tests and I will just present the results here:
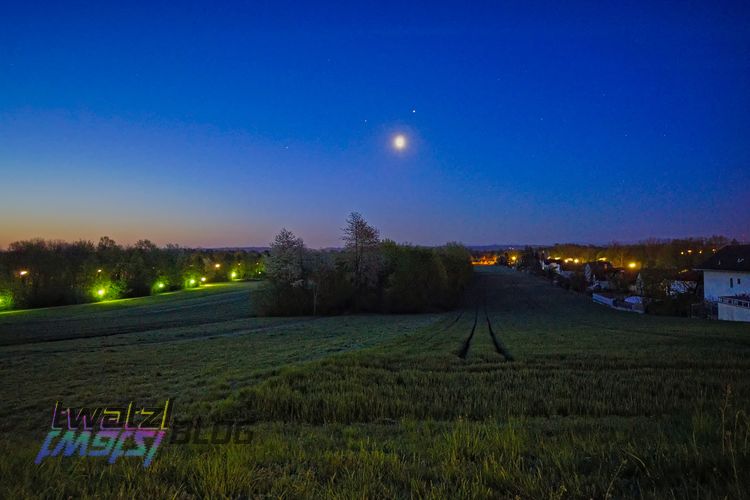
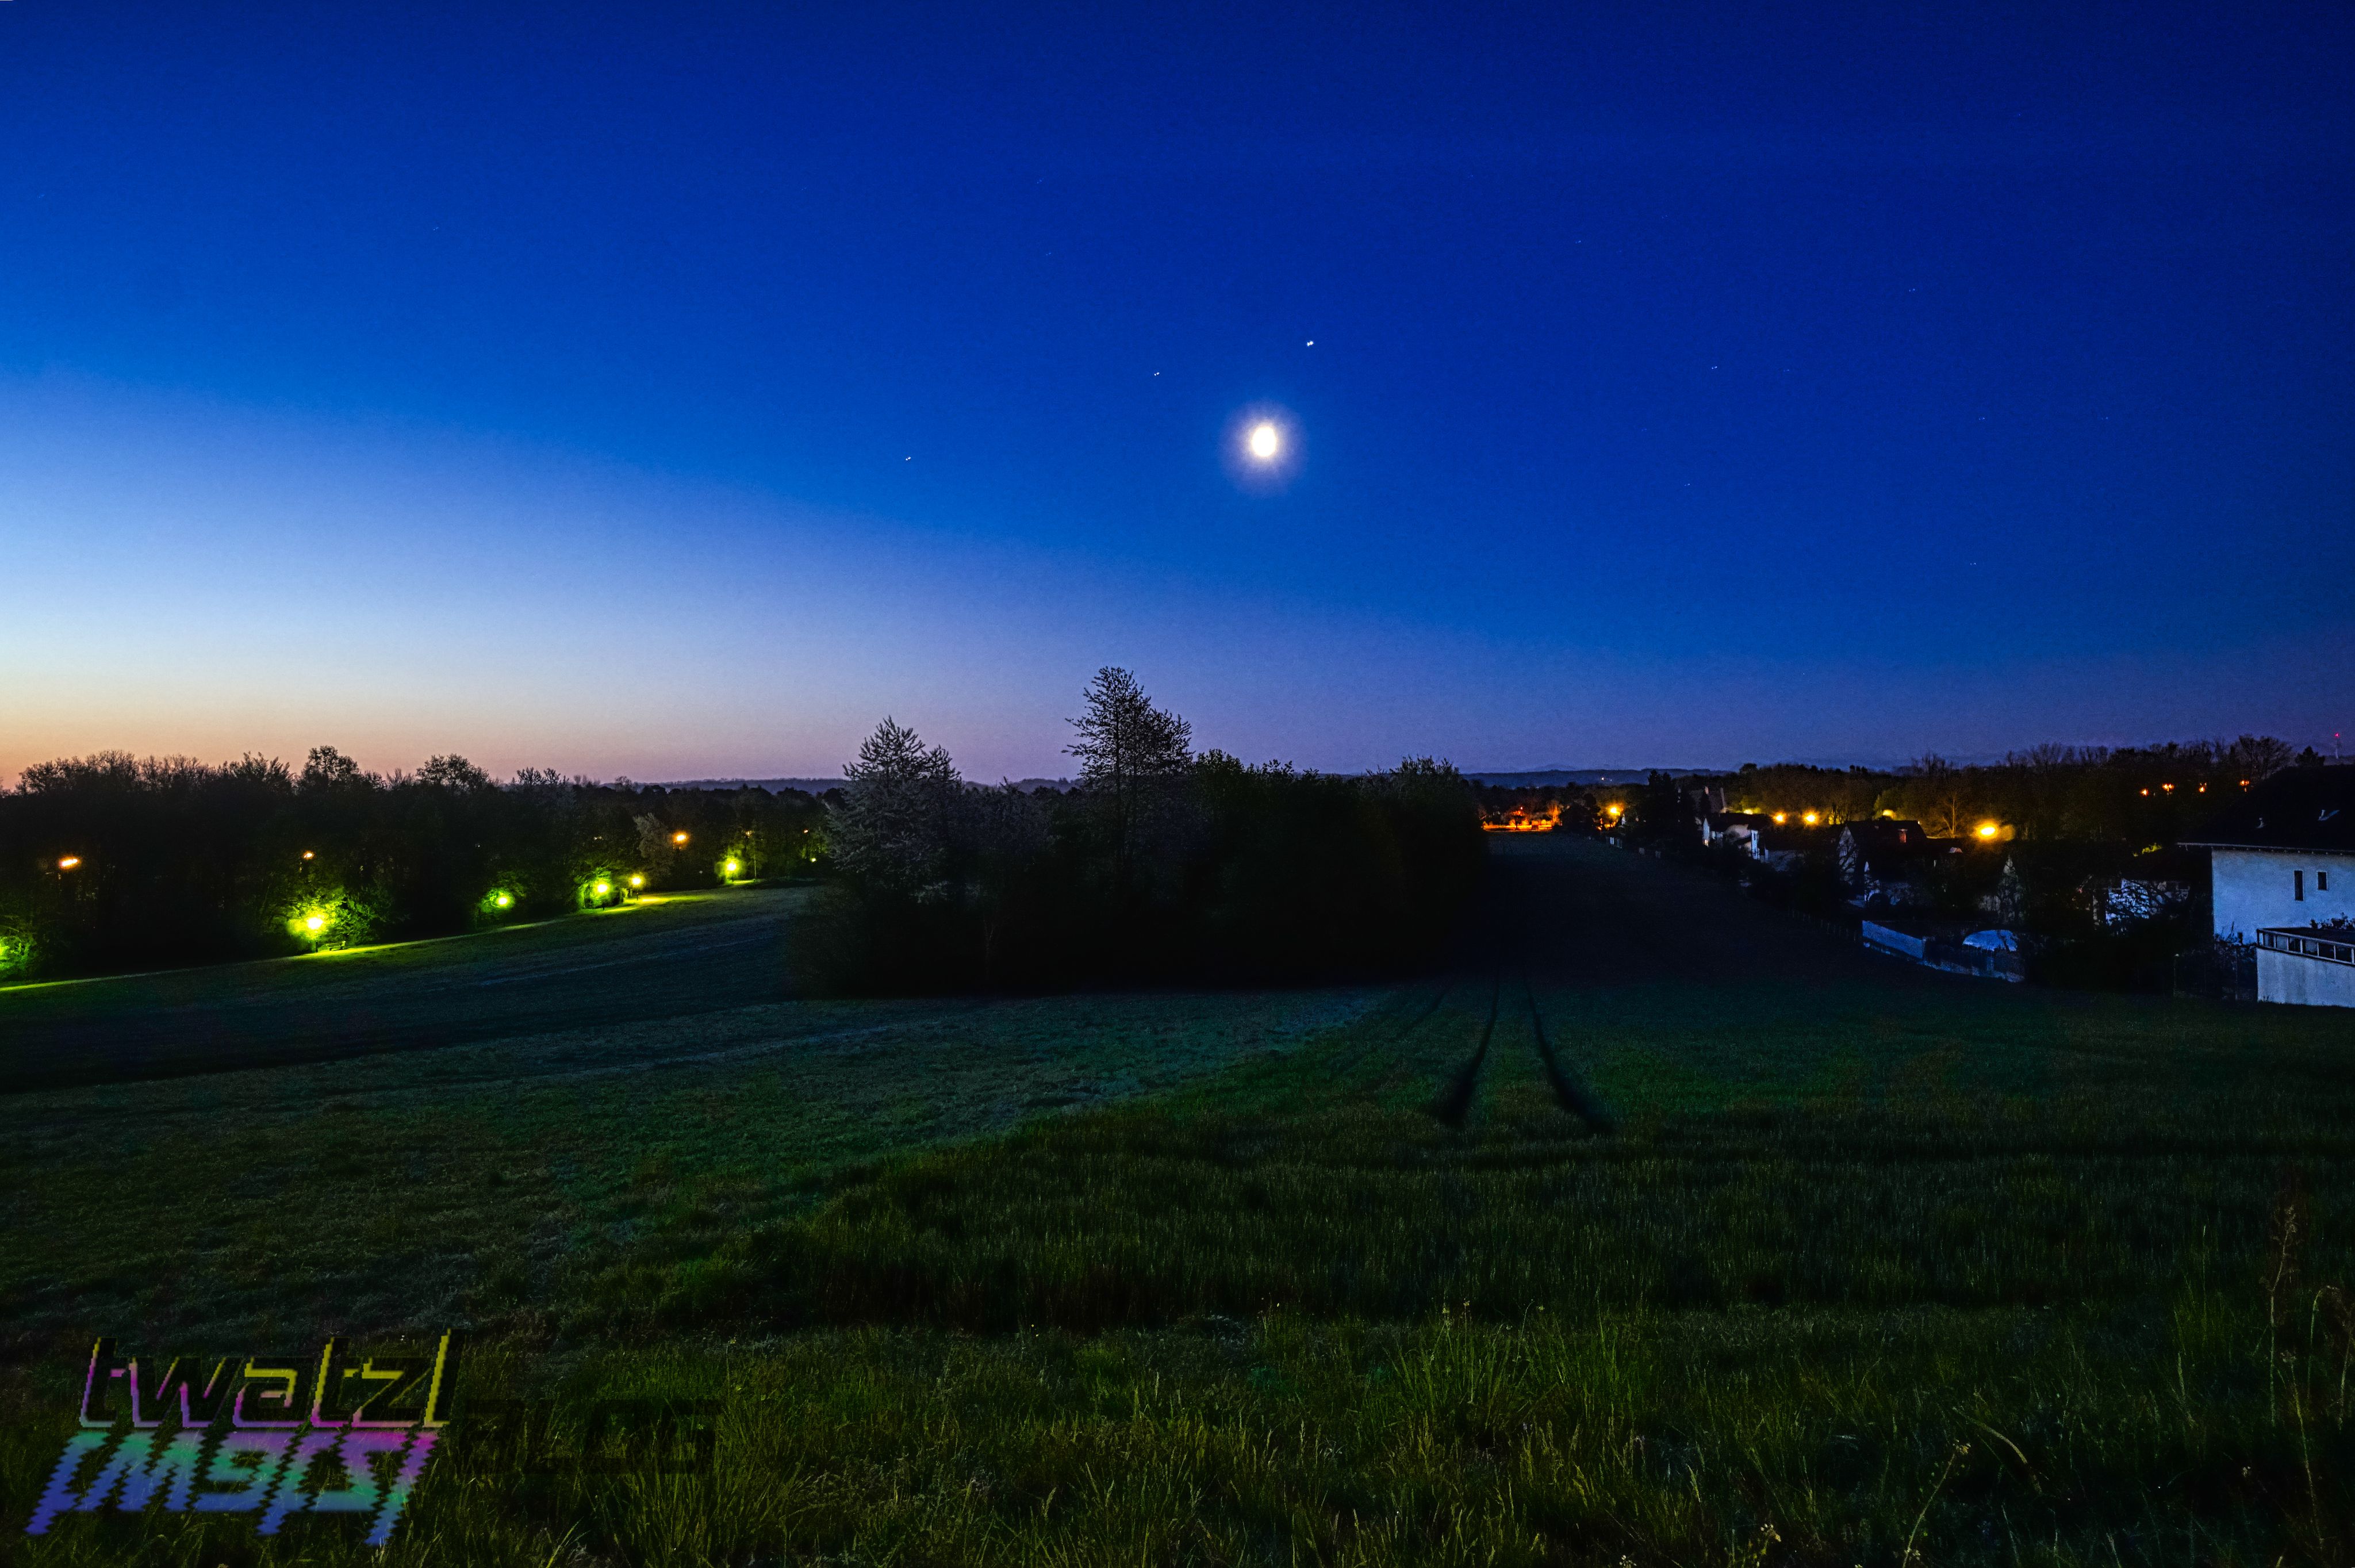
Nighttime comparison
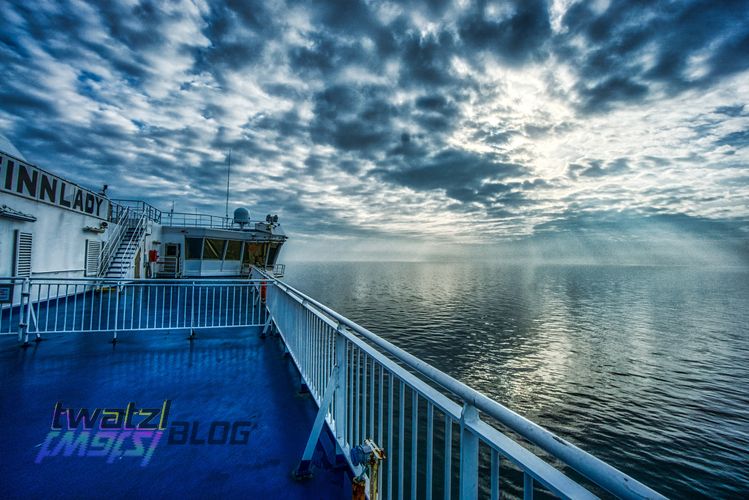
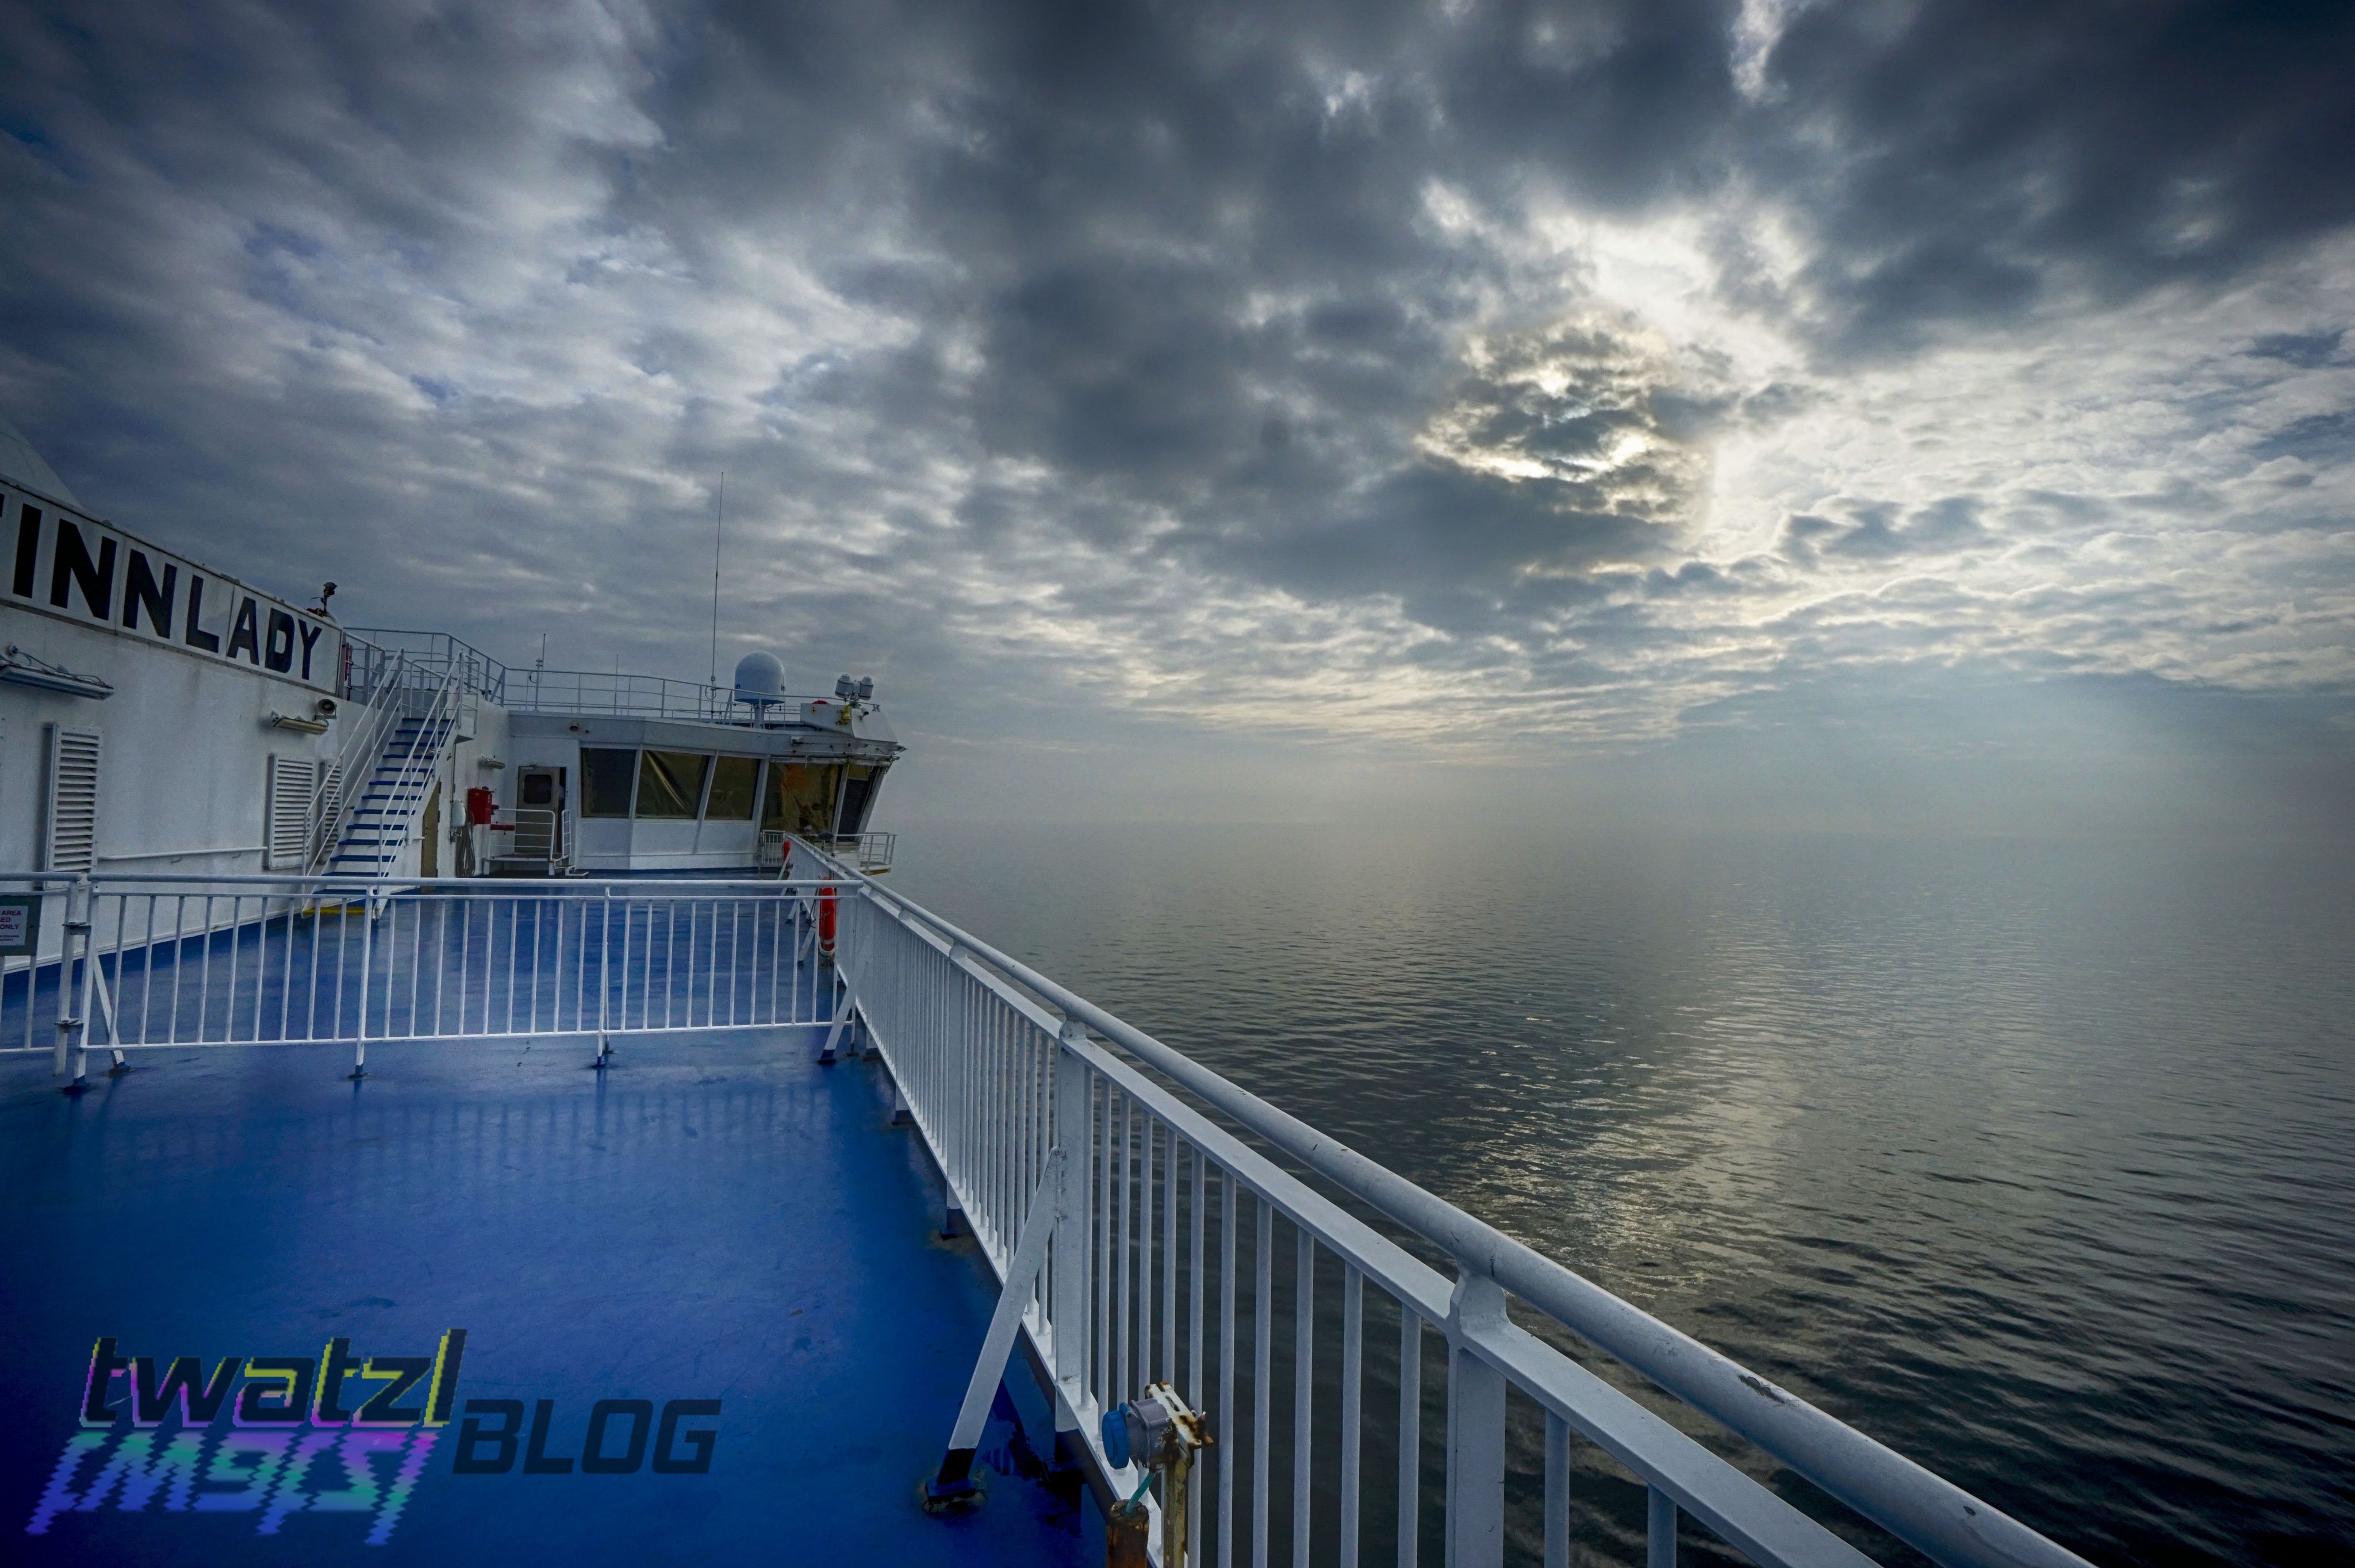
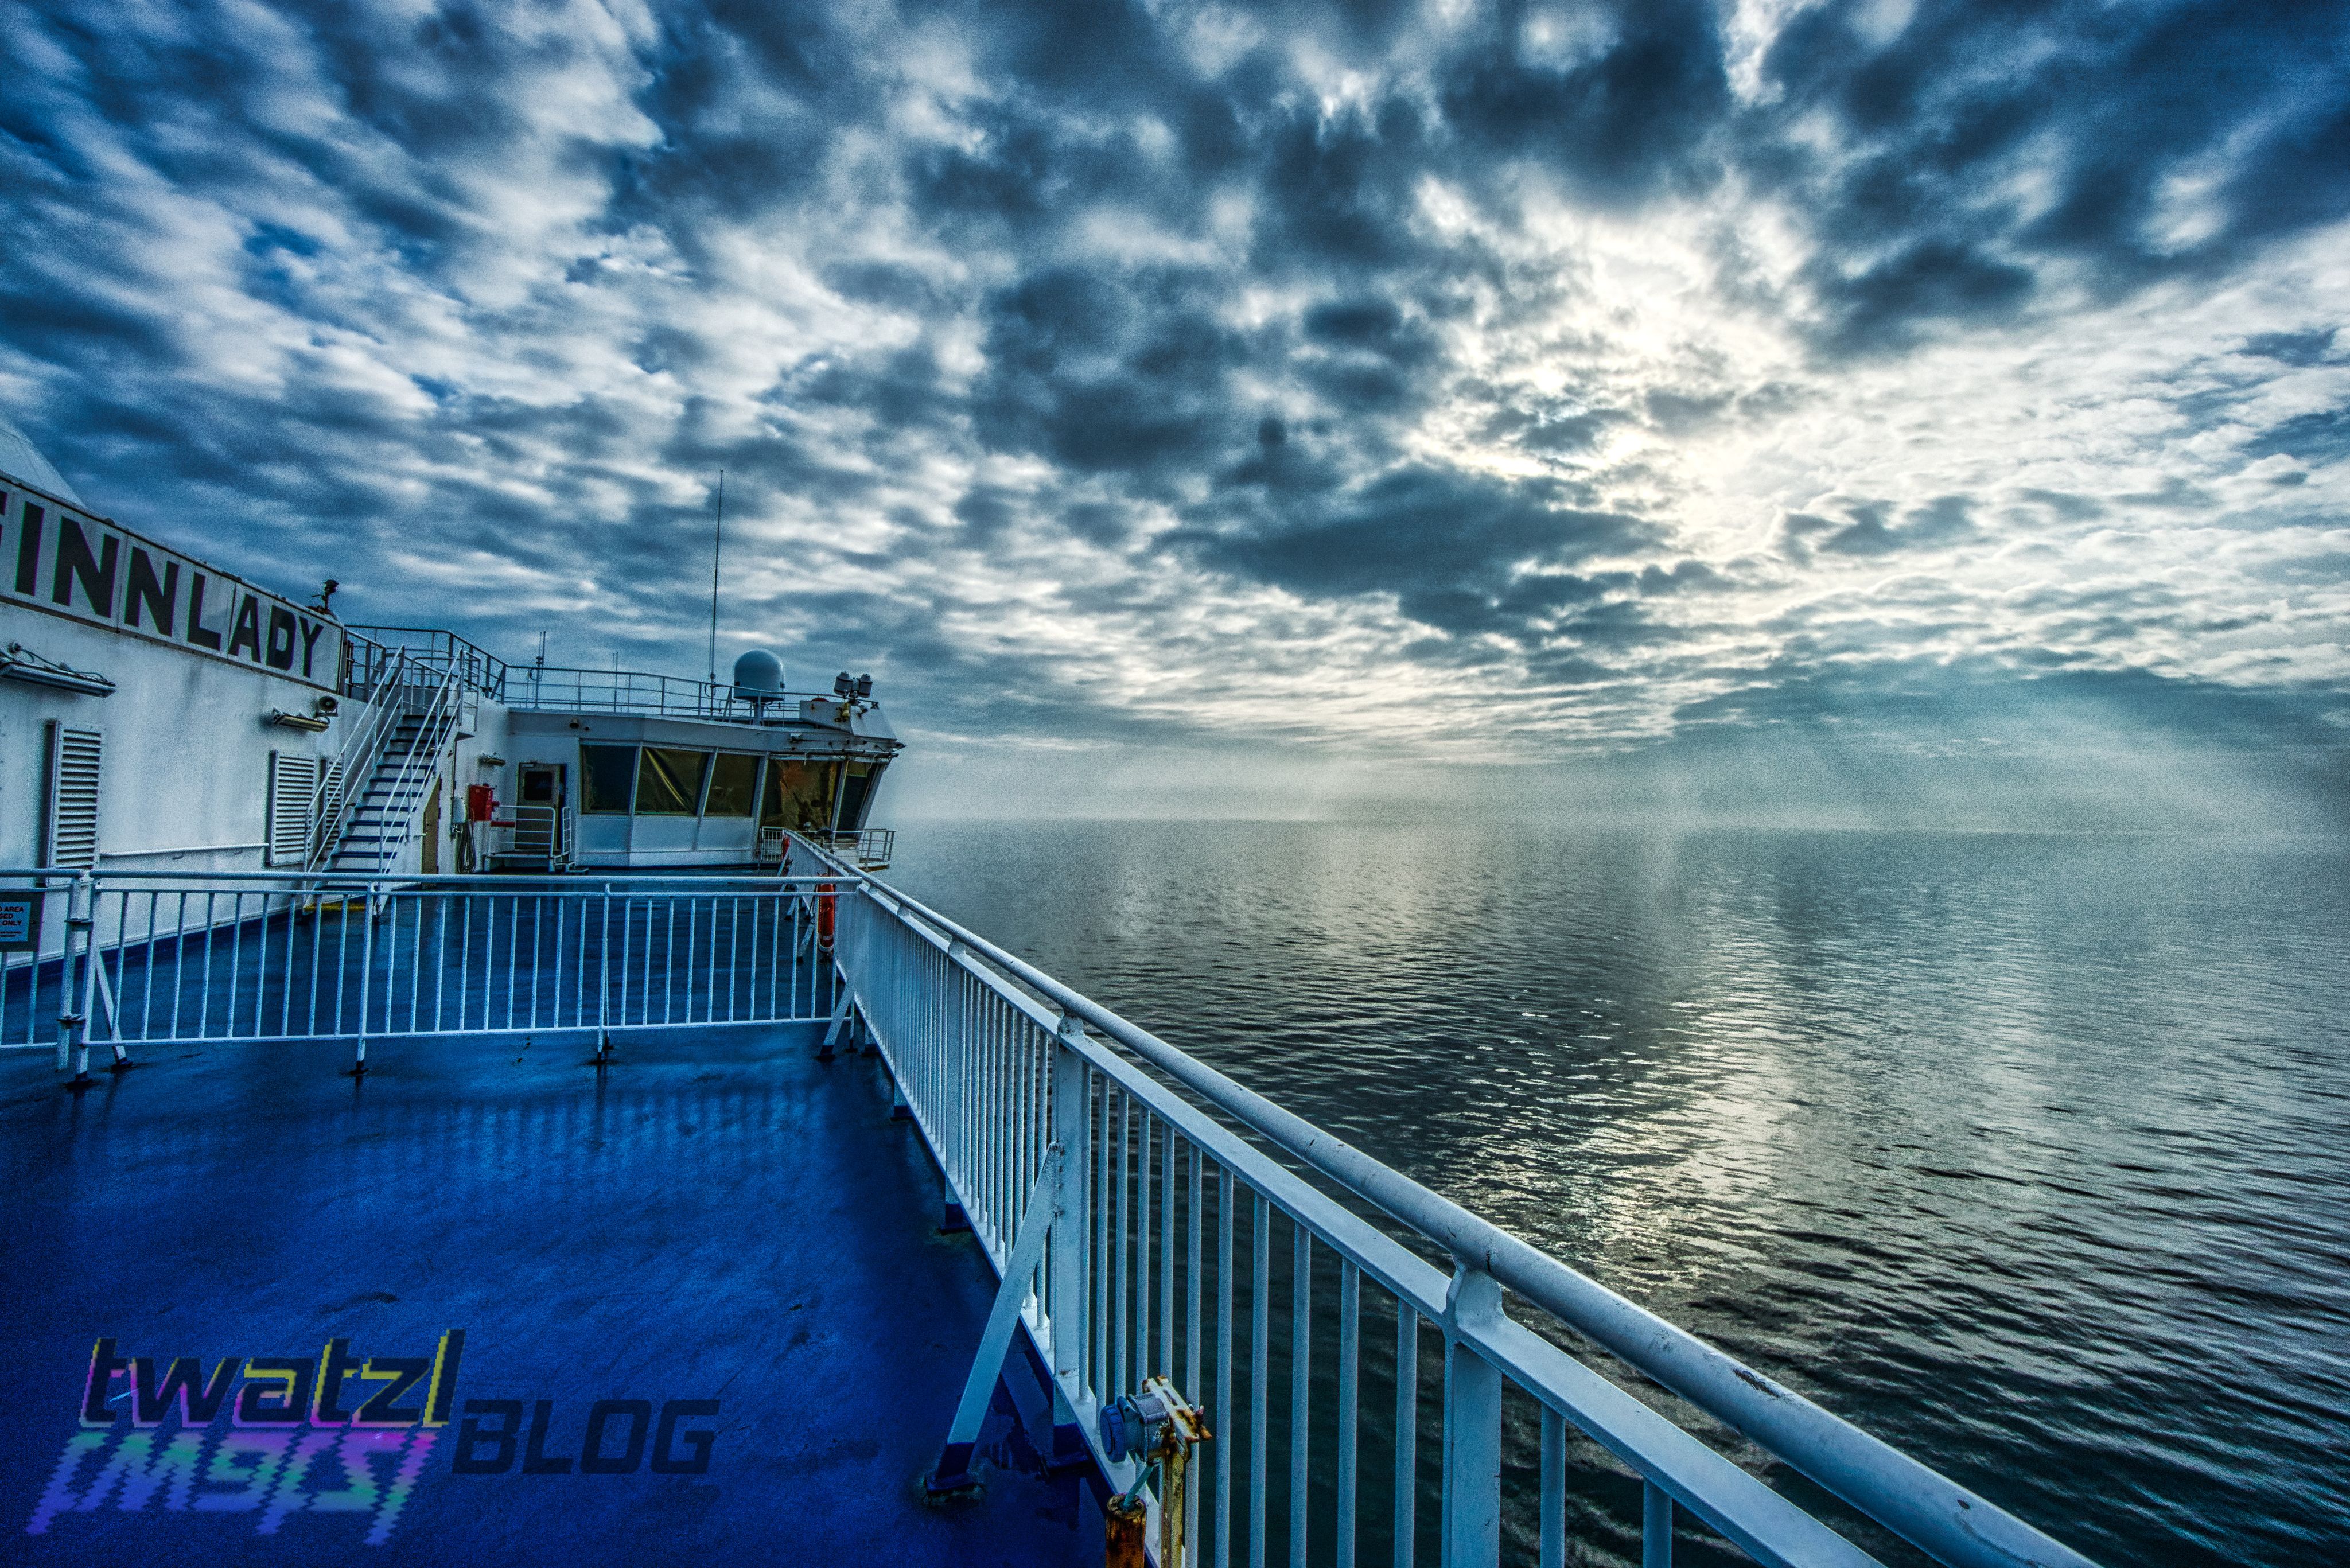
The images shown below show the difference between an HDR image from multiple jpegs and a regular image from a single raw file, developed with RawTherapee. The HDR programme is in a bit of a disadvantage though. I was not able to properly align the whole stack, so I only took the 3 brightest images of the series. In my opinion it turned out quite nice even despite this.
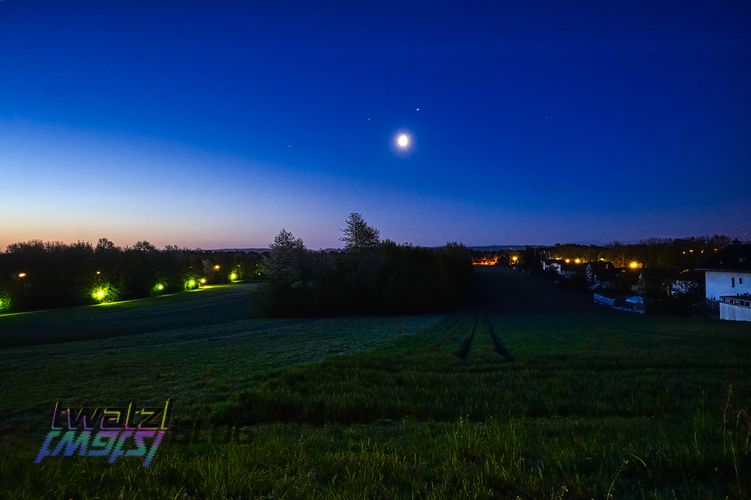
Also some of the images which I showed previosly were made using Aurora HDR. They are marked as HDR in the caption.
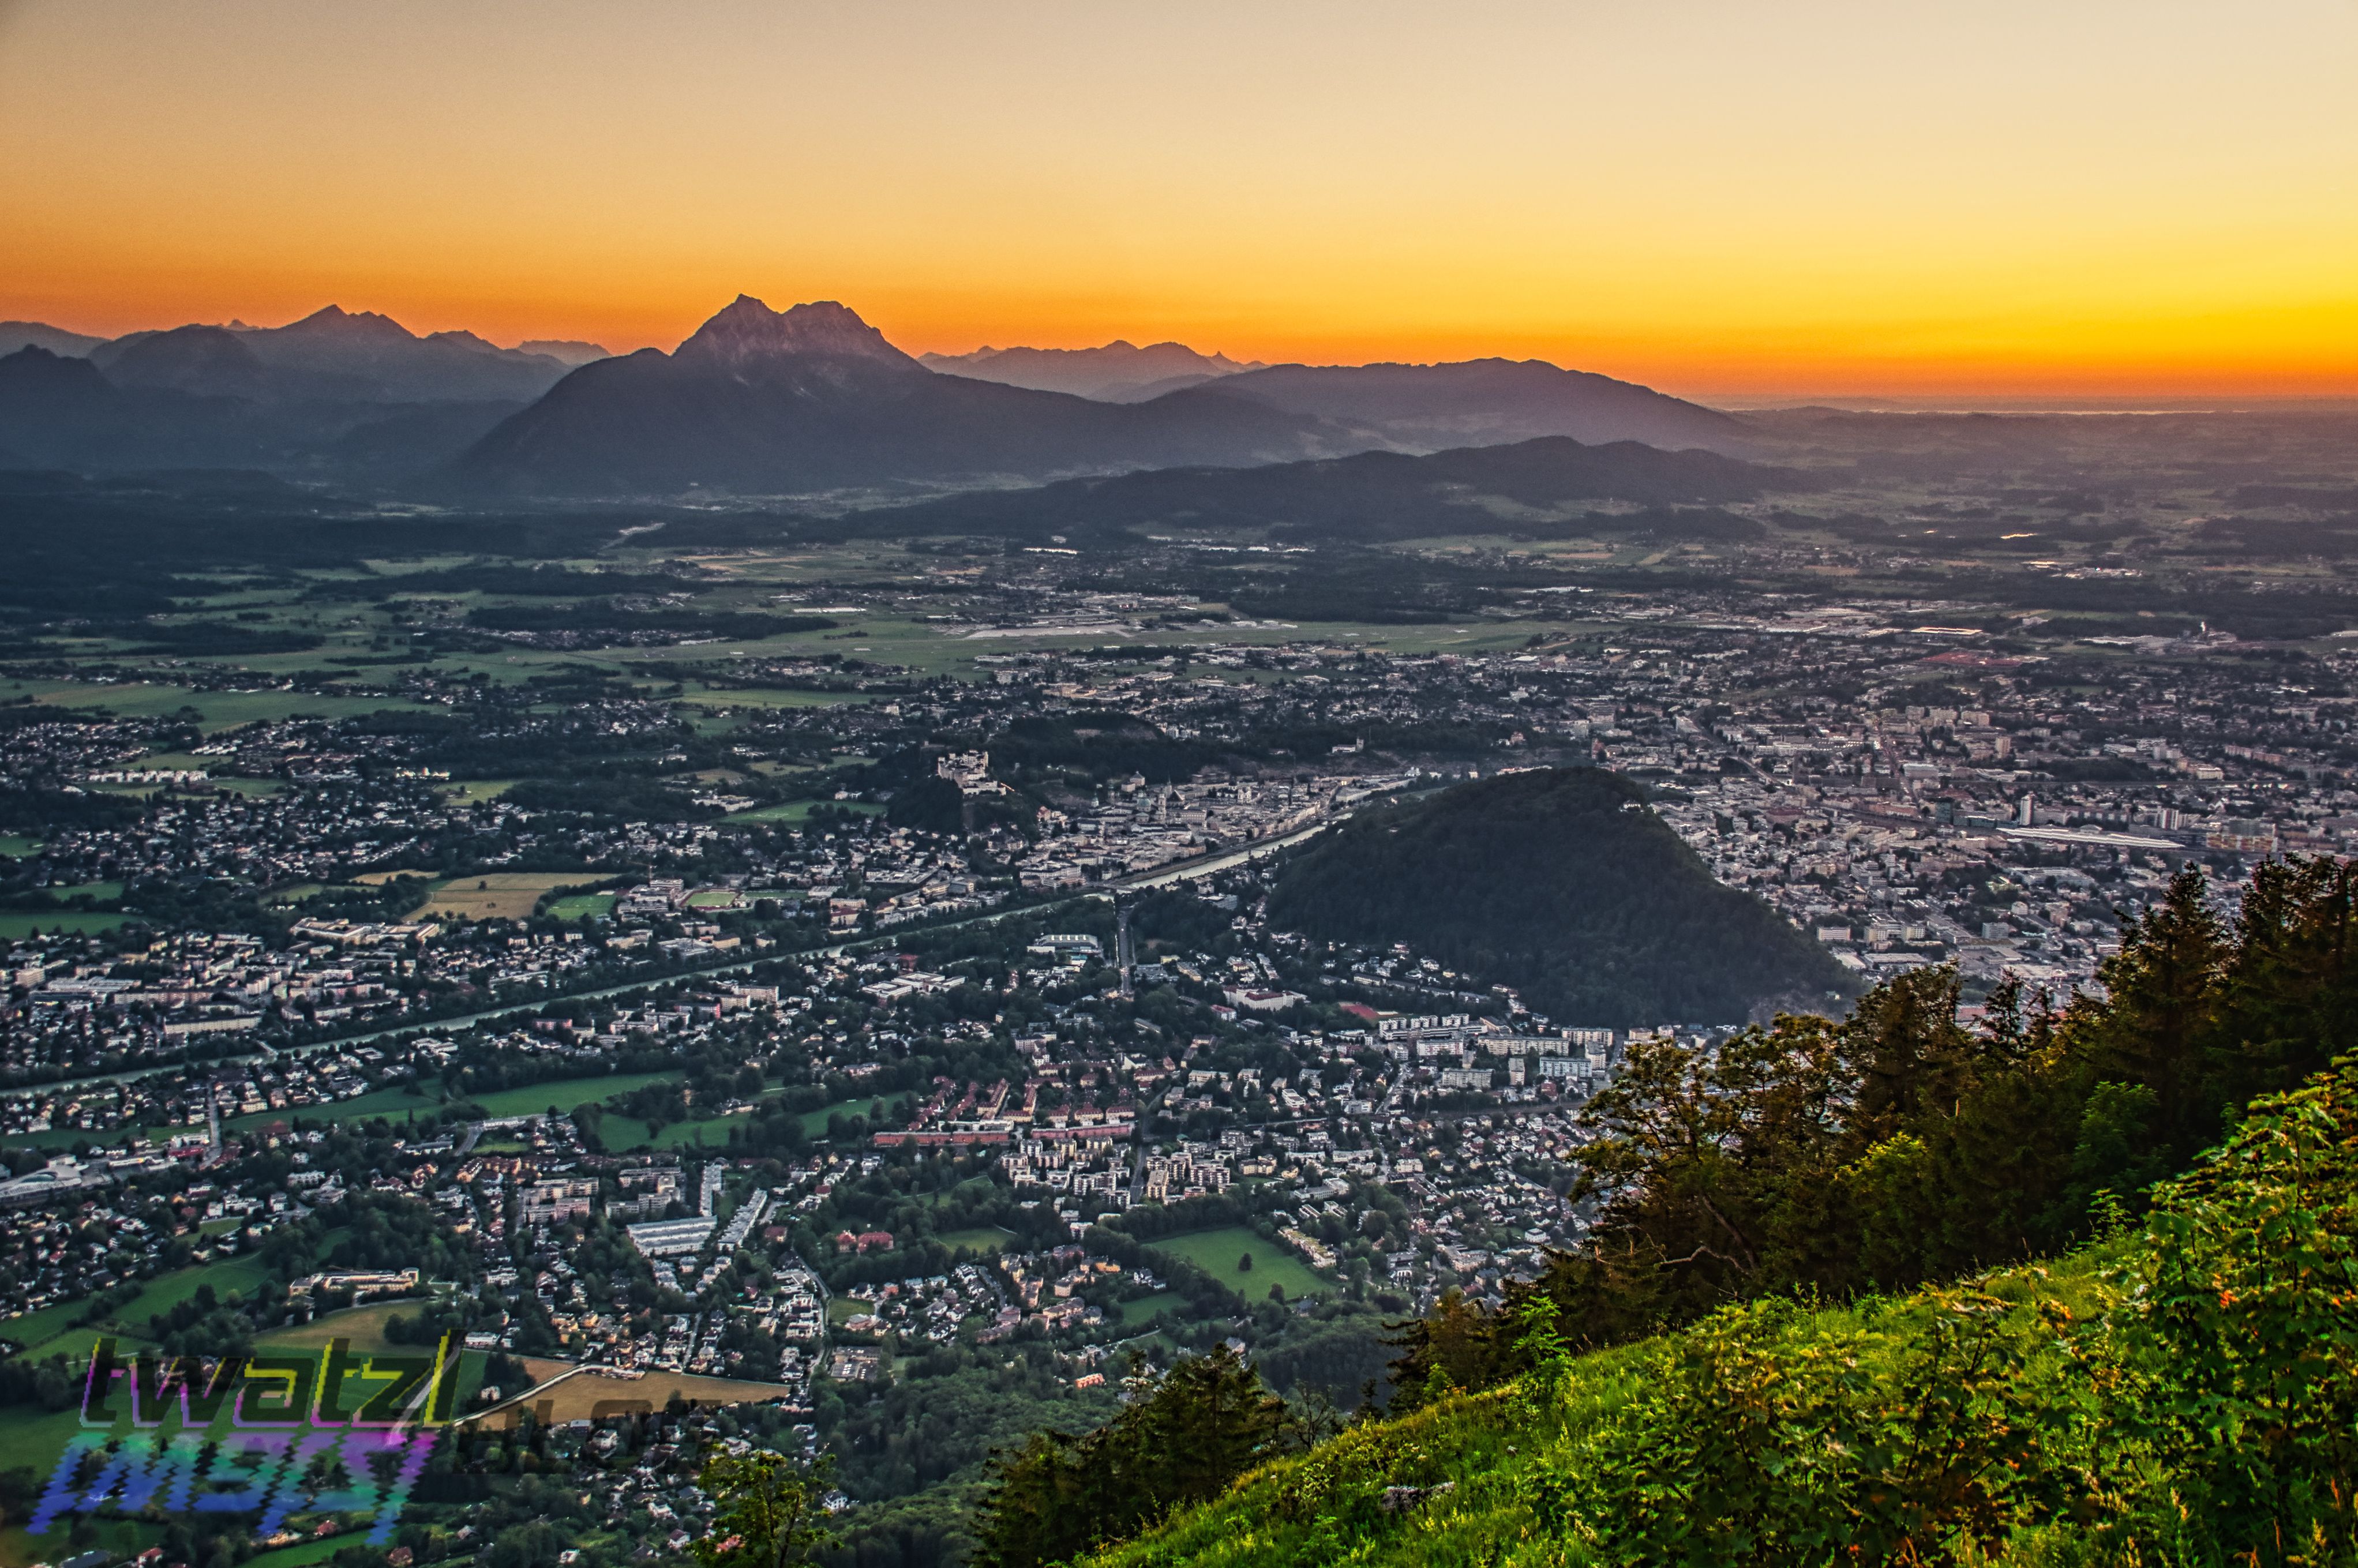
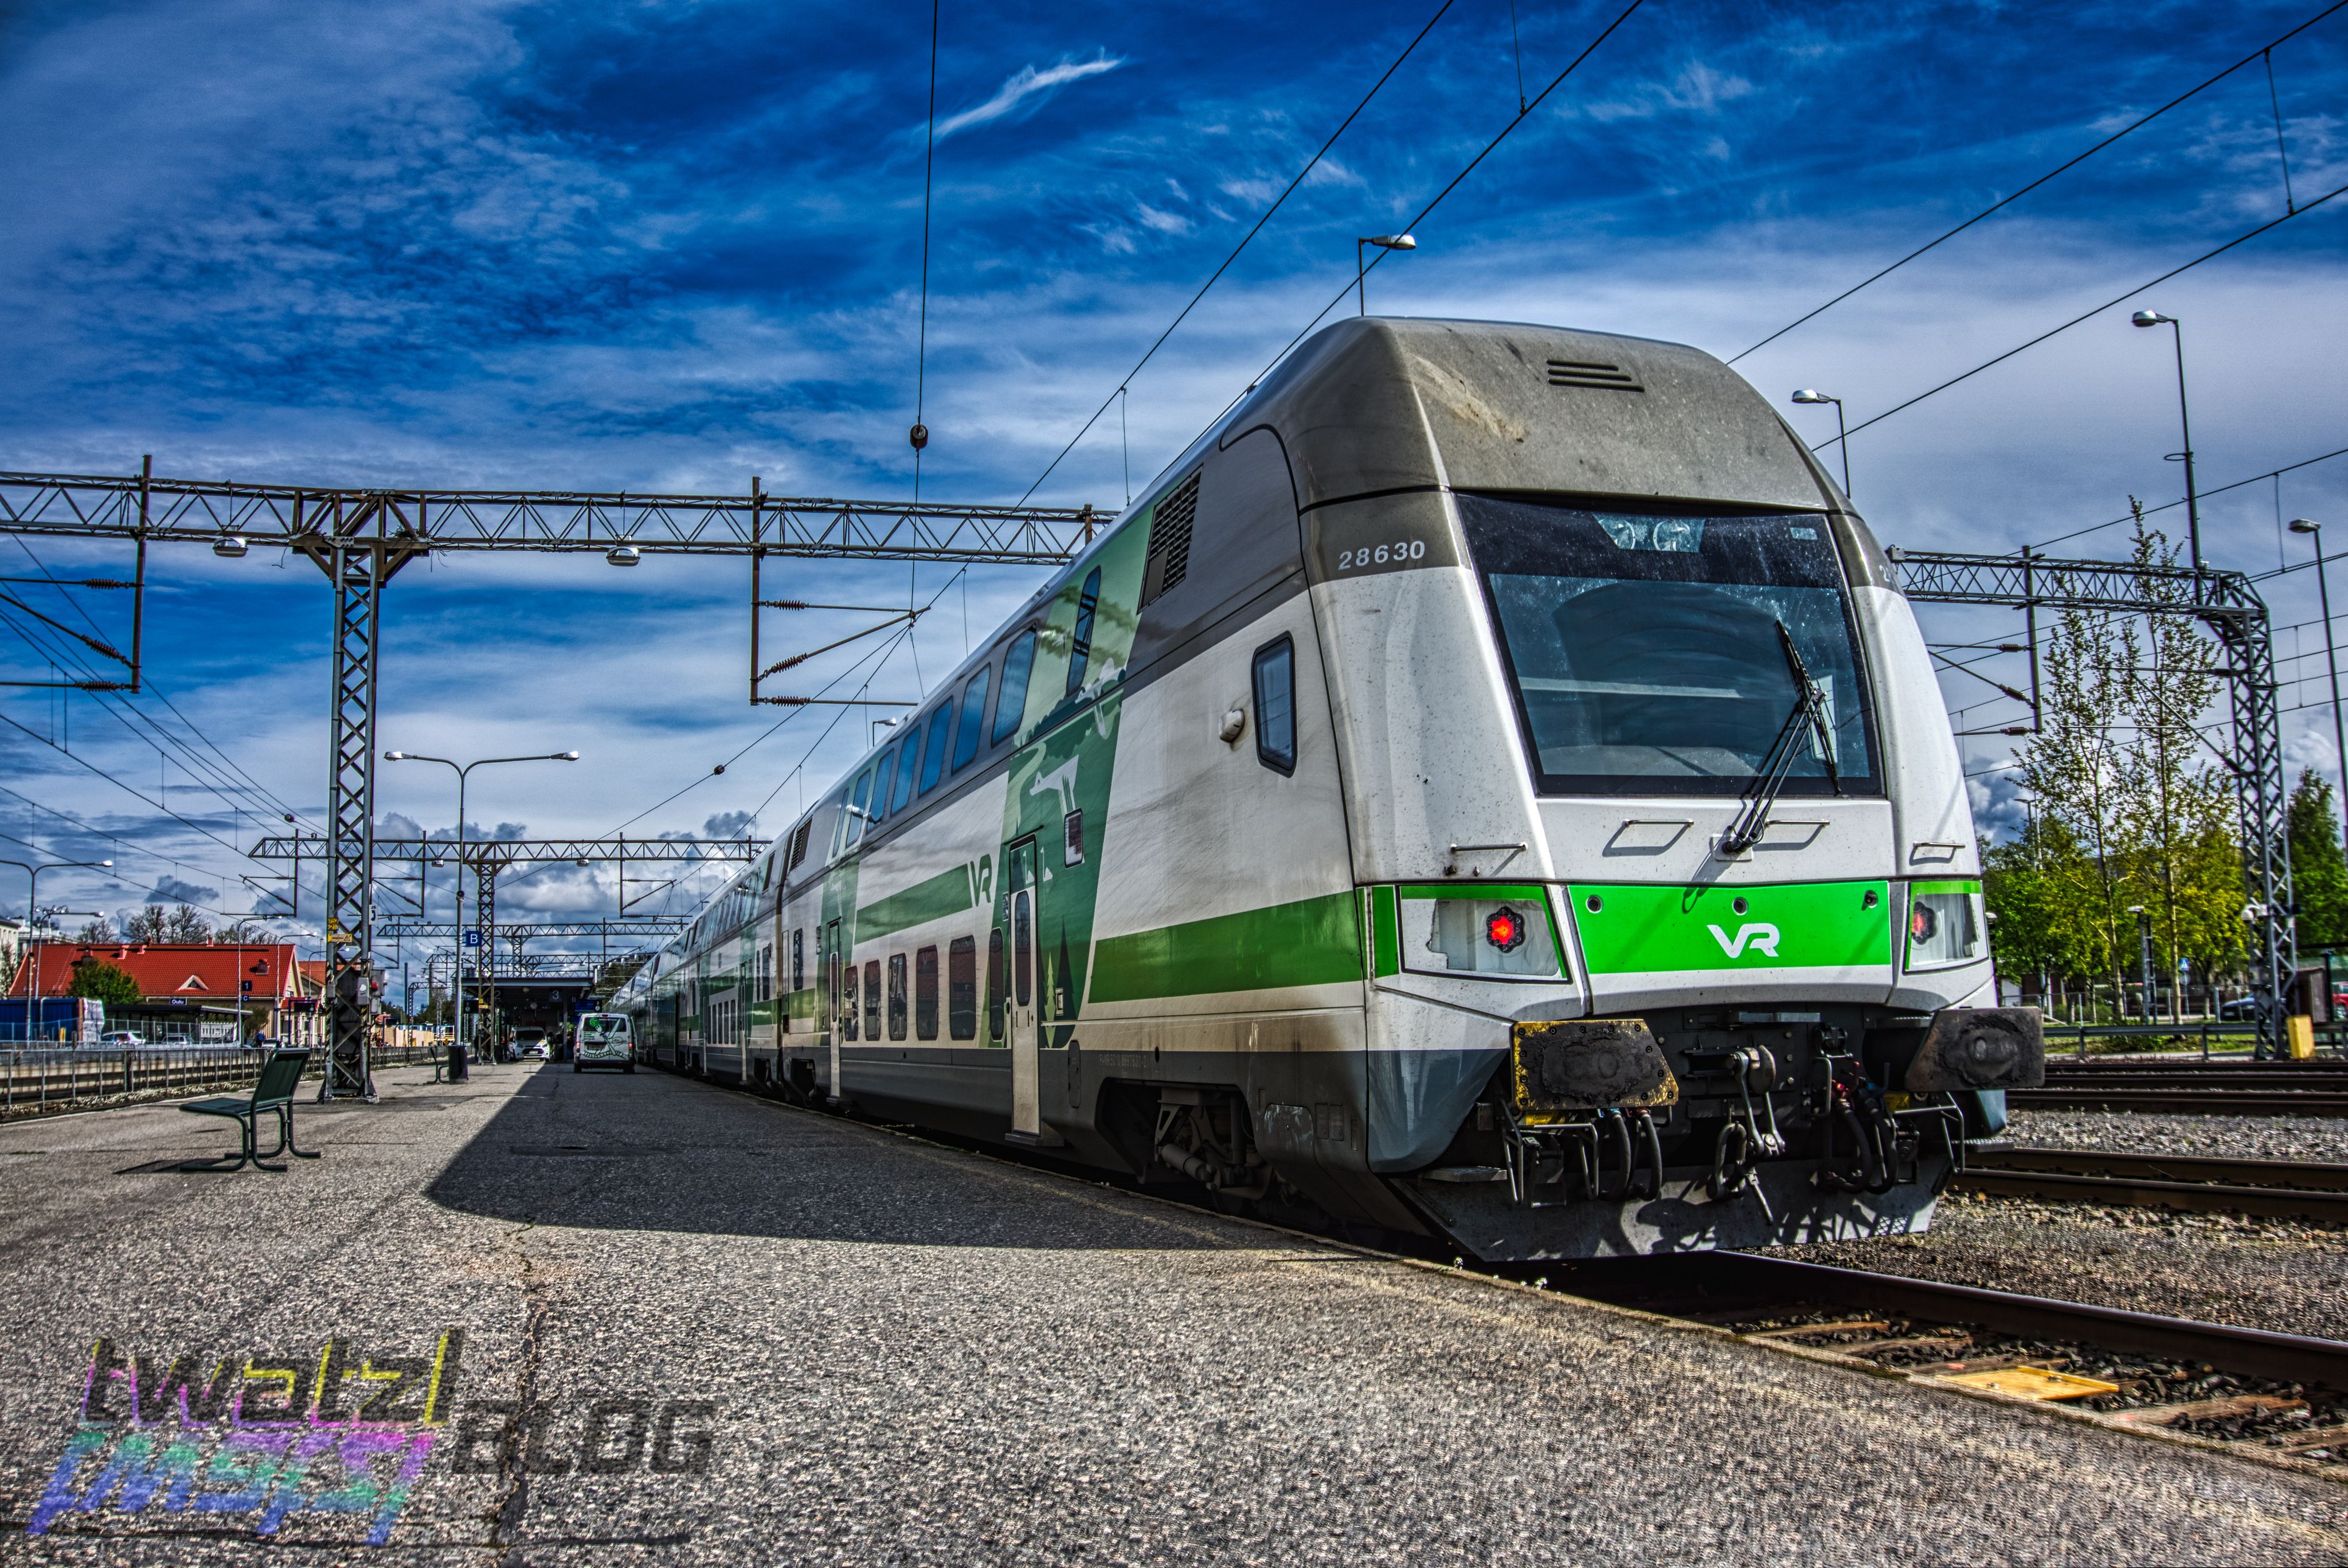
Daylight from muliple RAWs
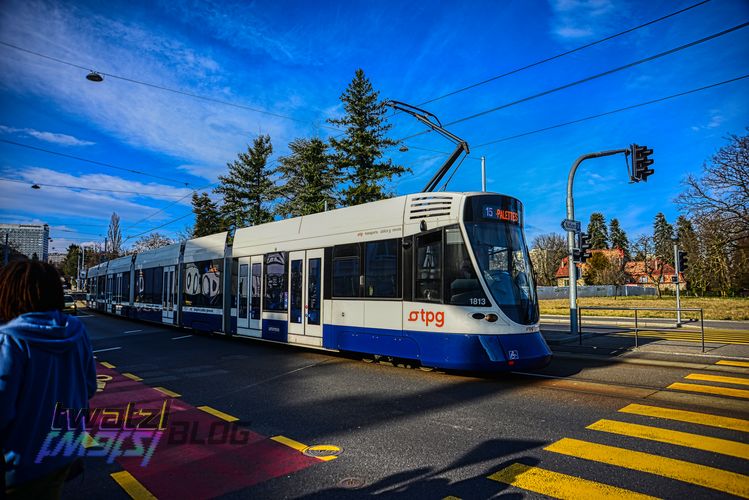
So to get a good comparison what Aurora can do I decided to recreate some of my HDR images again with it. As I said up to now I used the Nik Collection for this, but it is cumbersome.
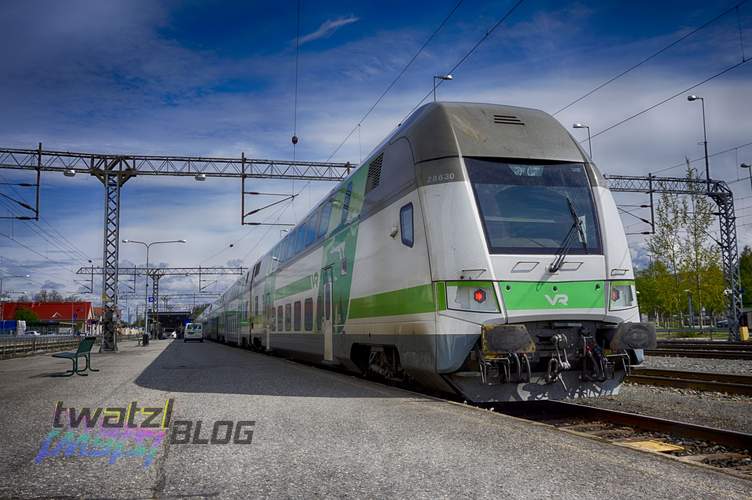
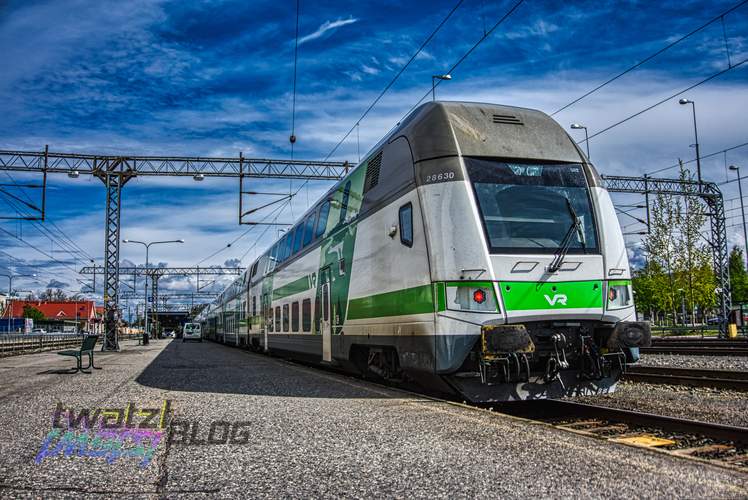
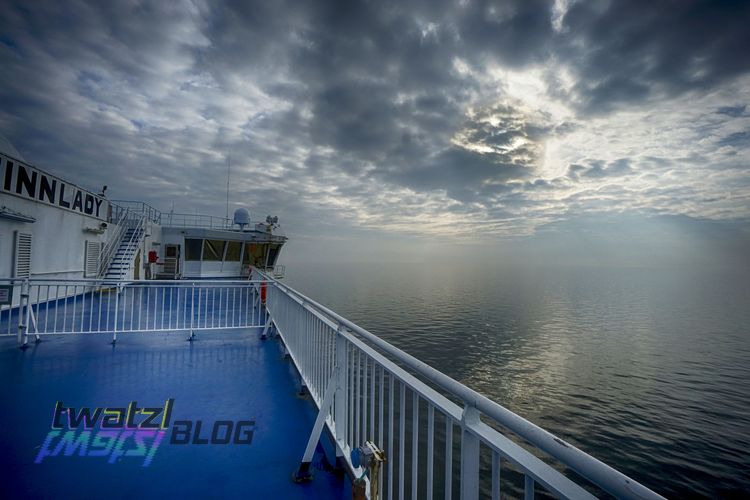
You can notice a bit of a shift in the perspective of the images. This is because the Sony camera I used does some very strong internal perspective correction. I am not always happy with the results so I usually do not apply that to the raw images when developing them. Hence the difference.
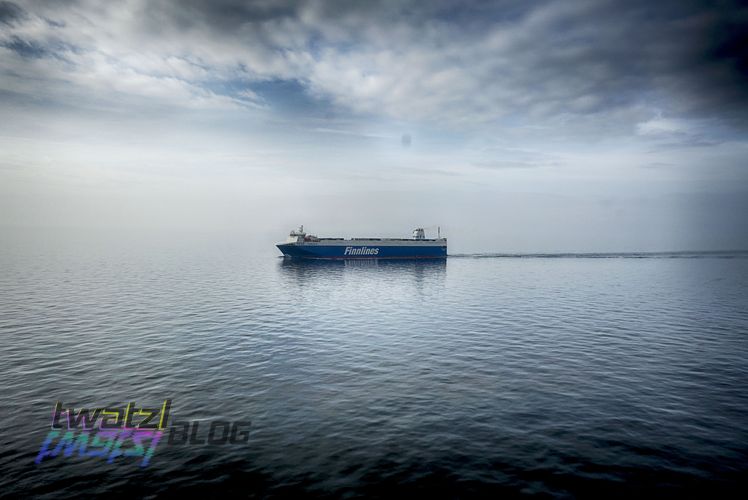
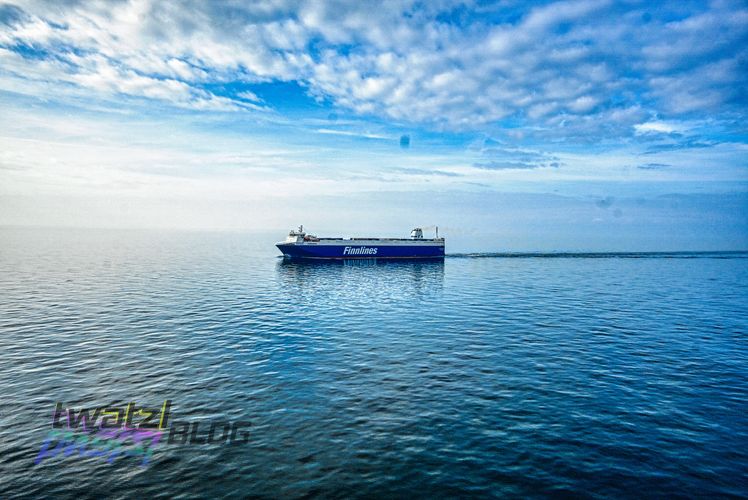
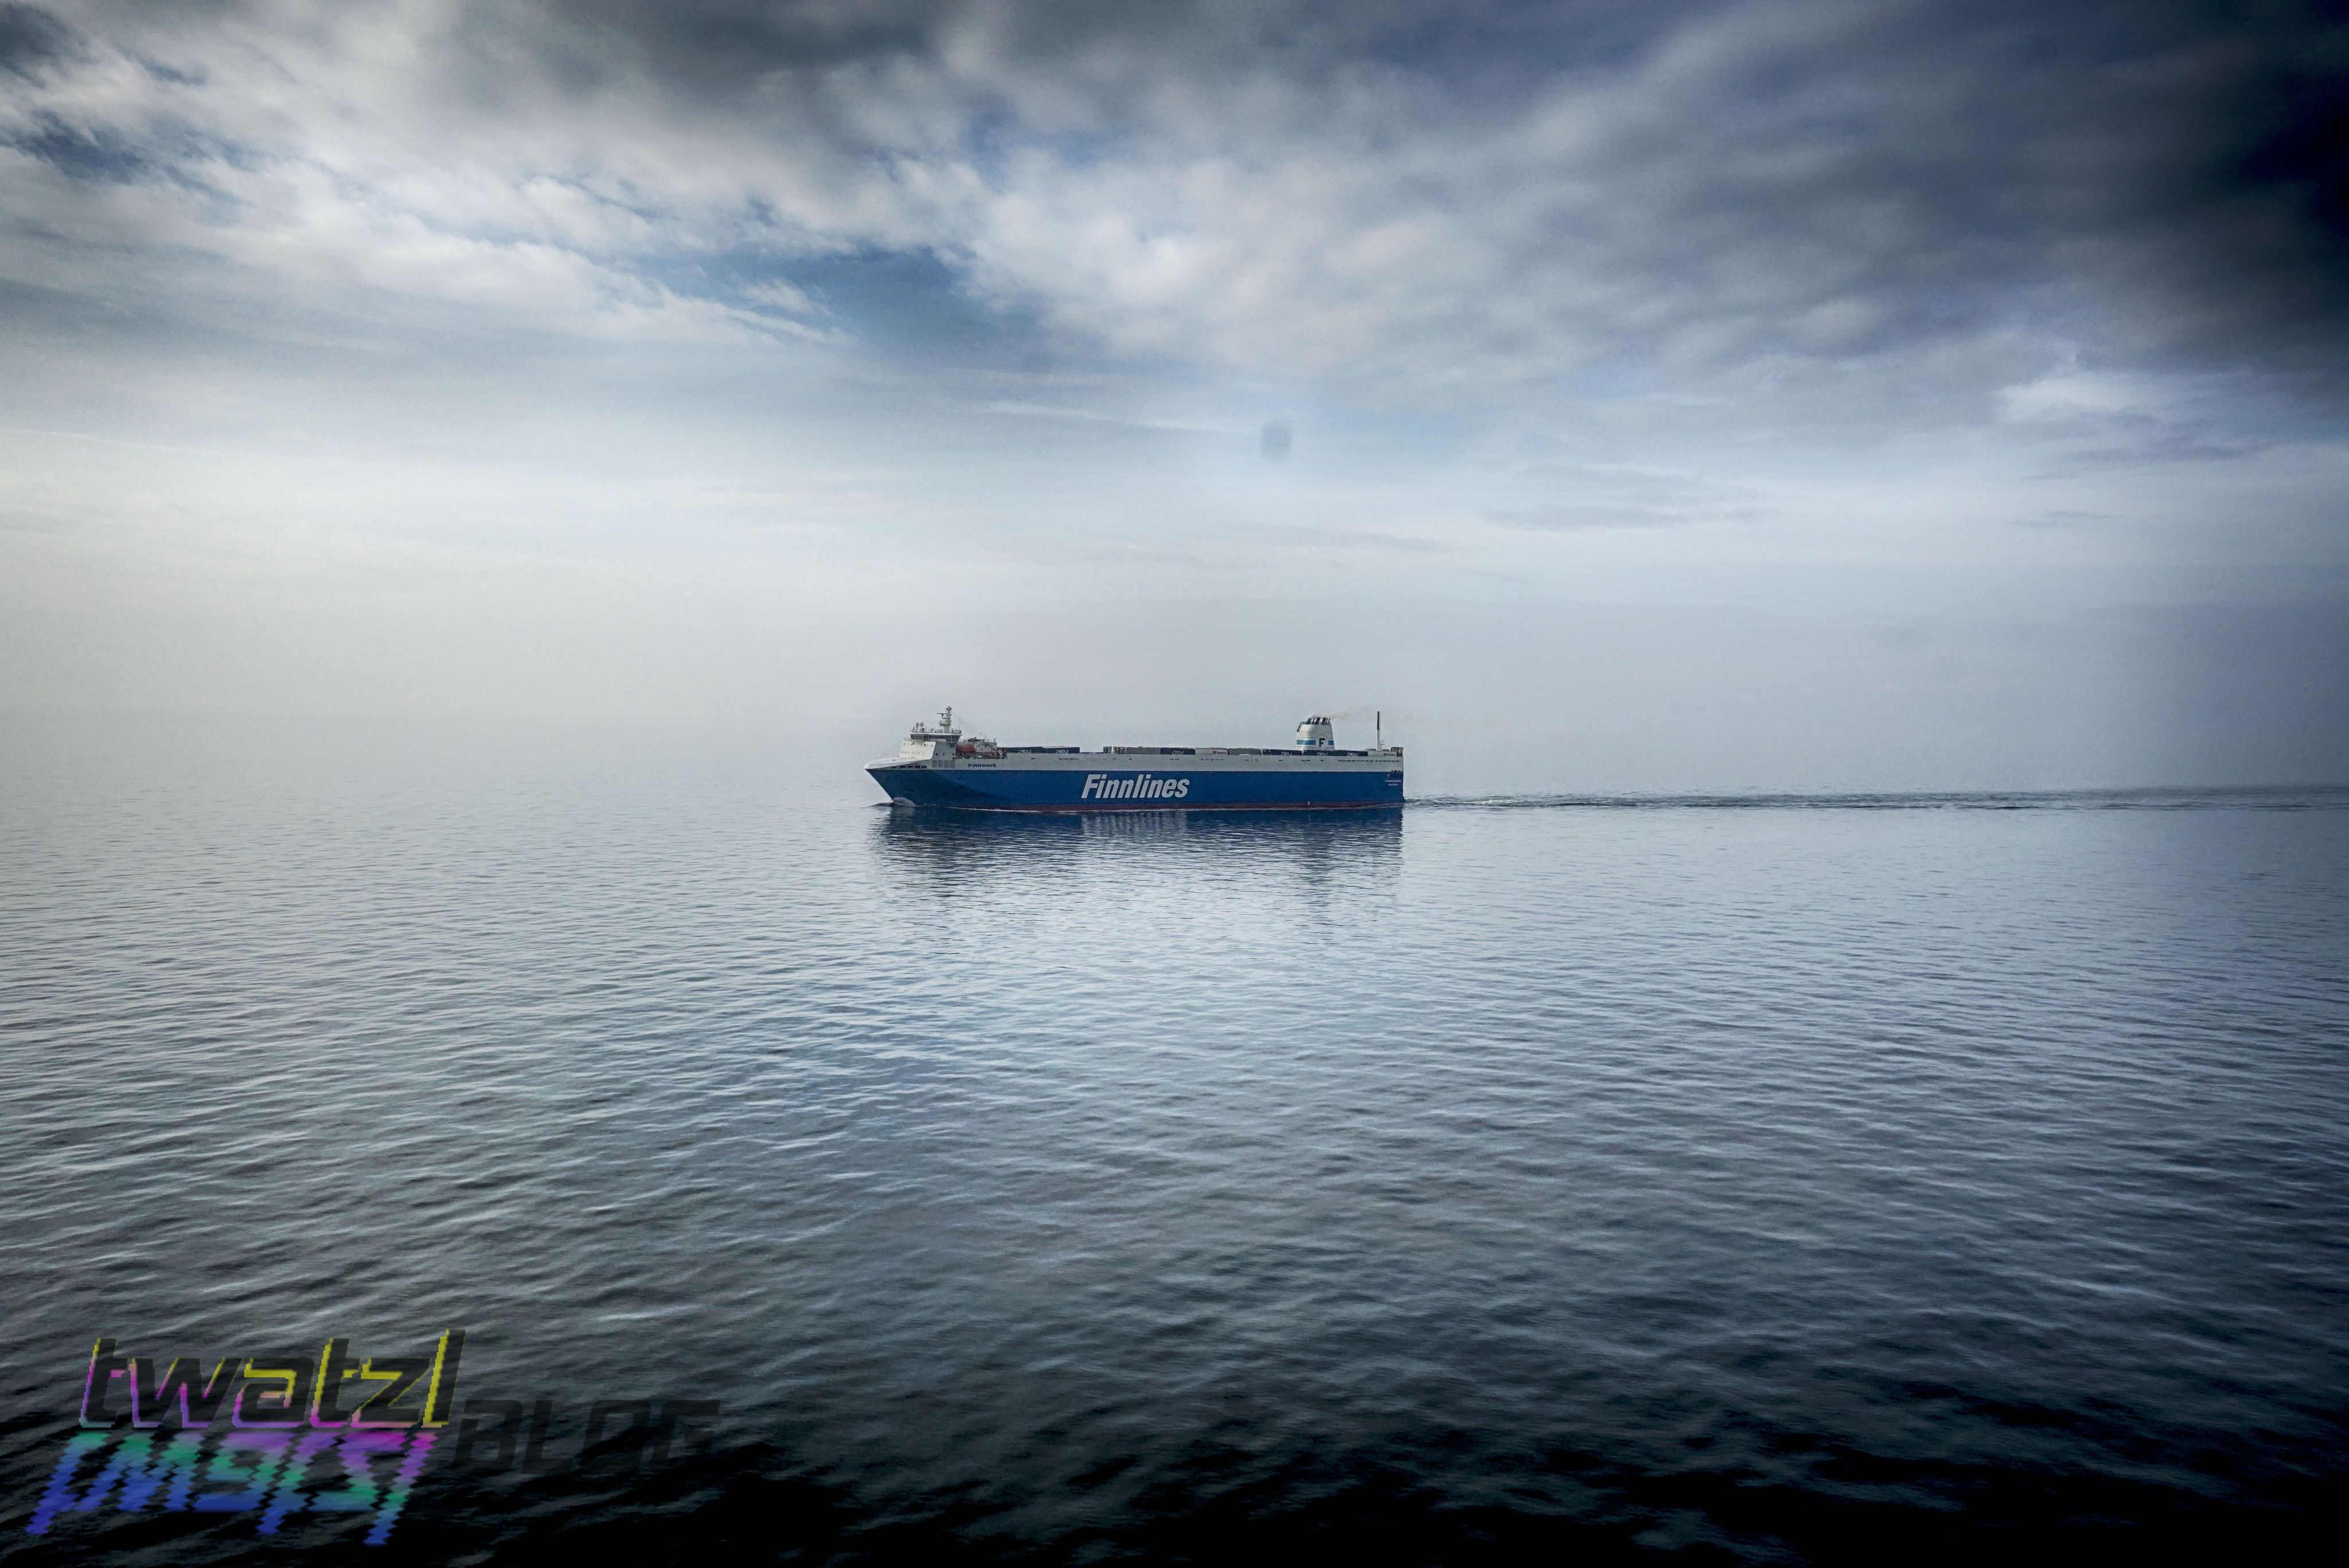
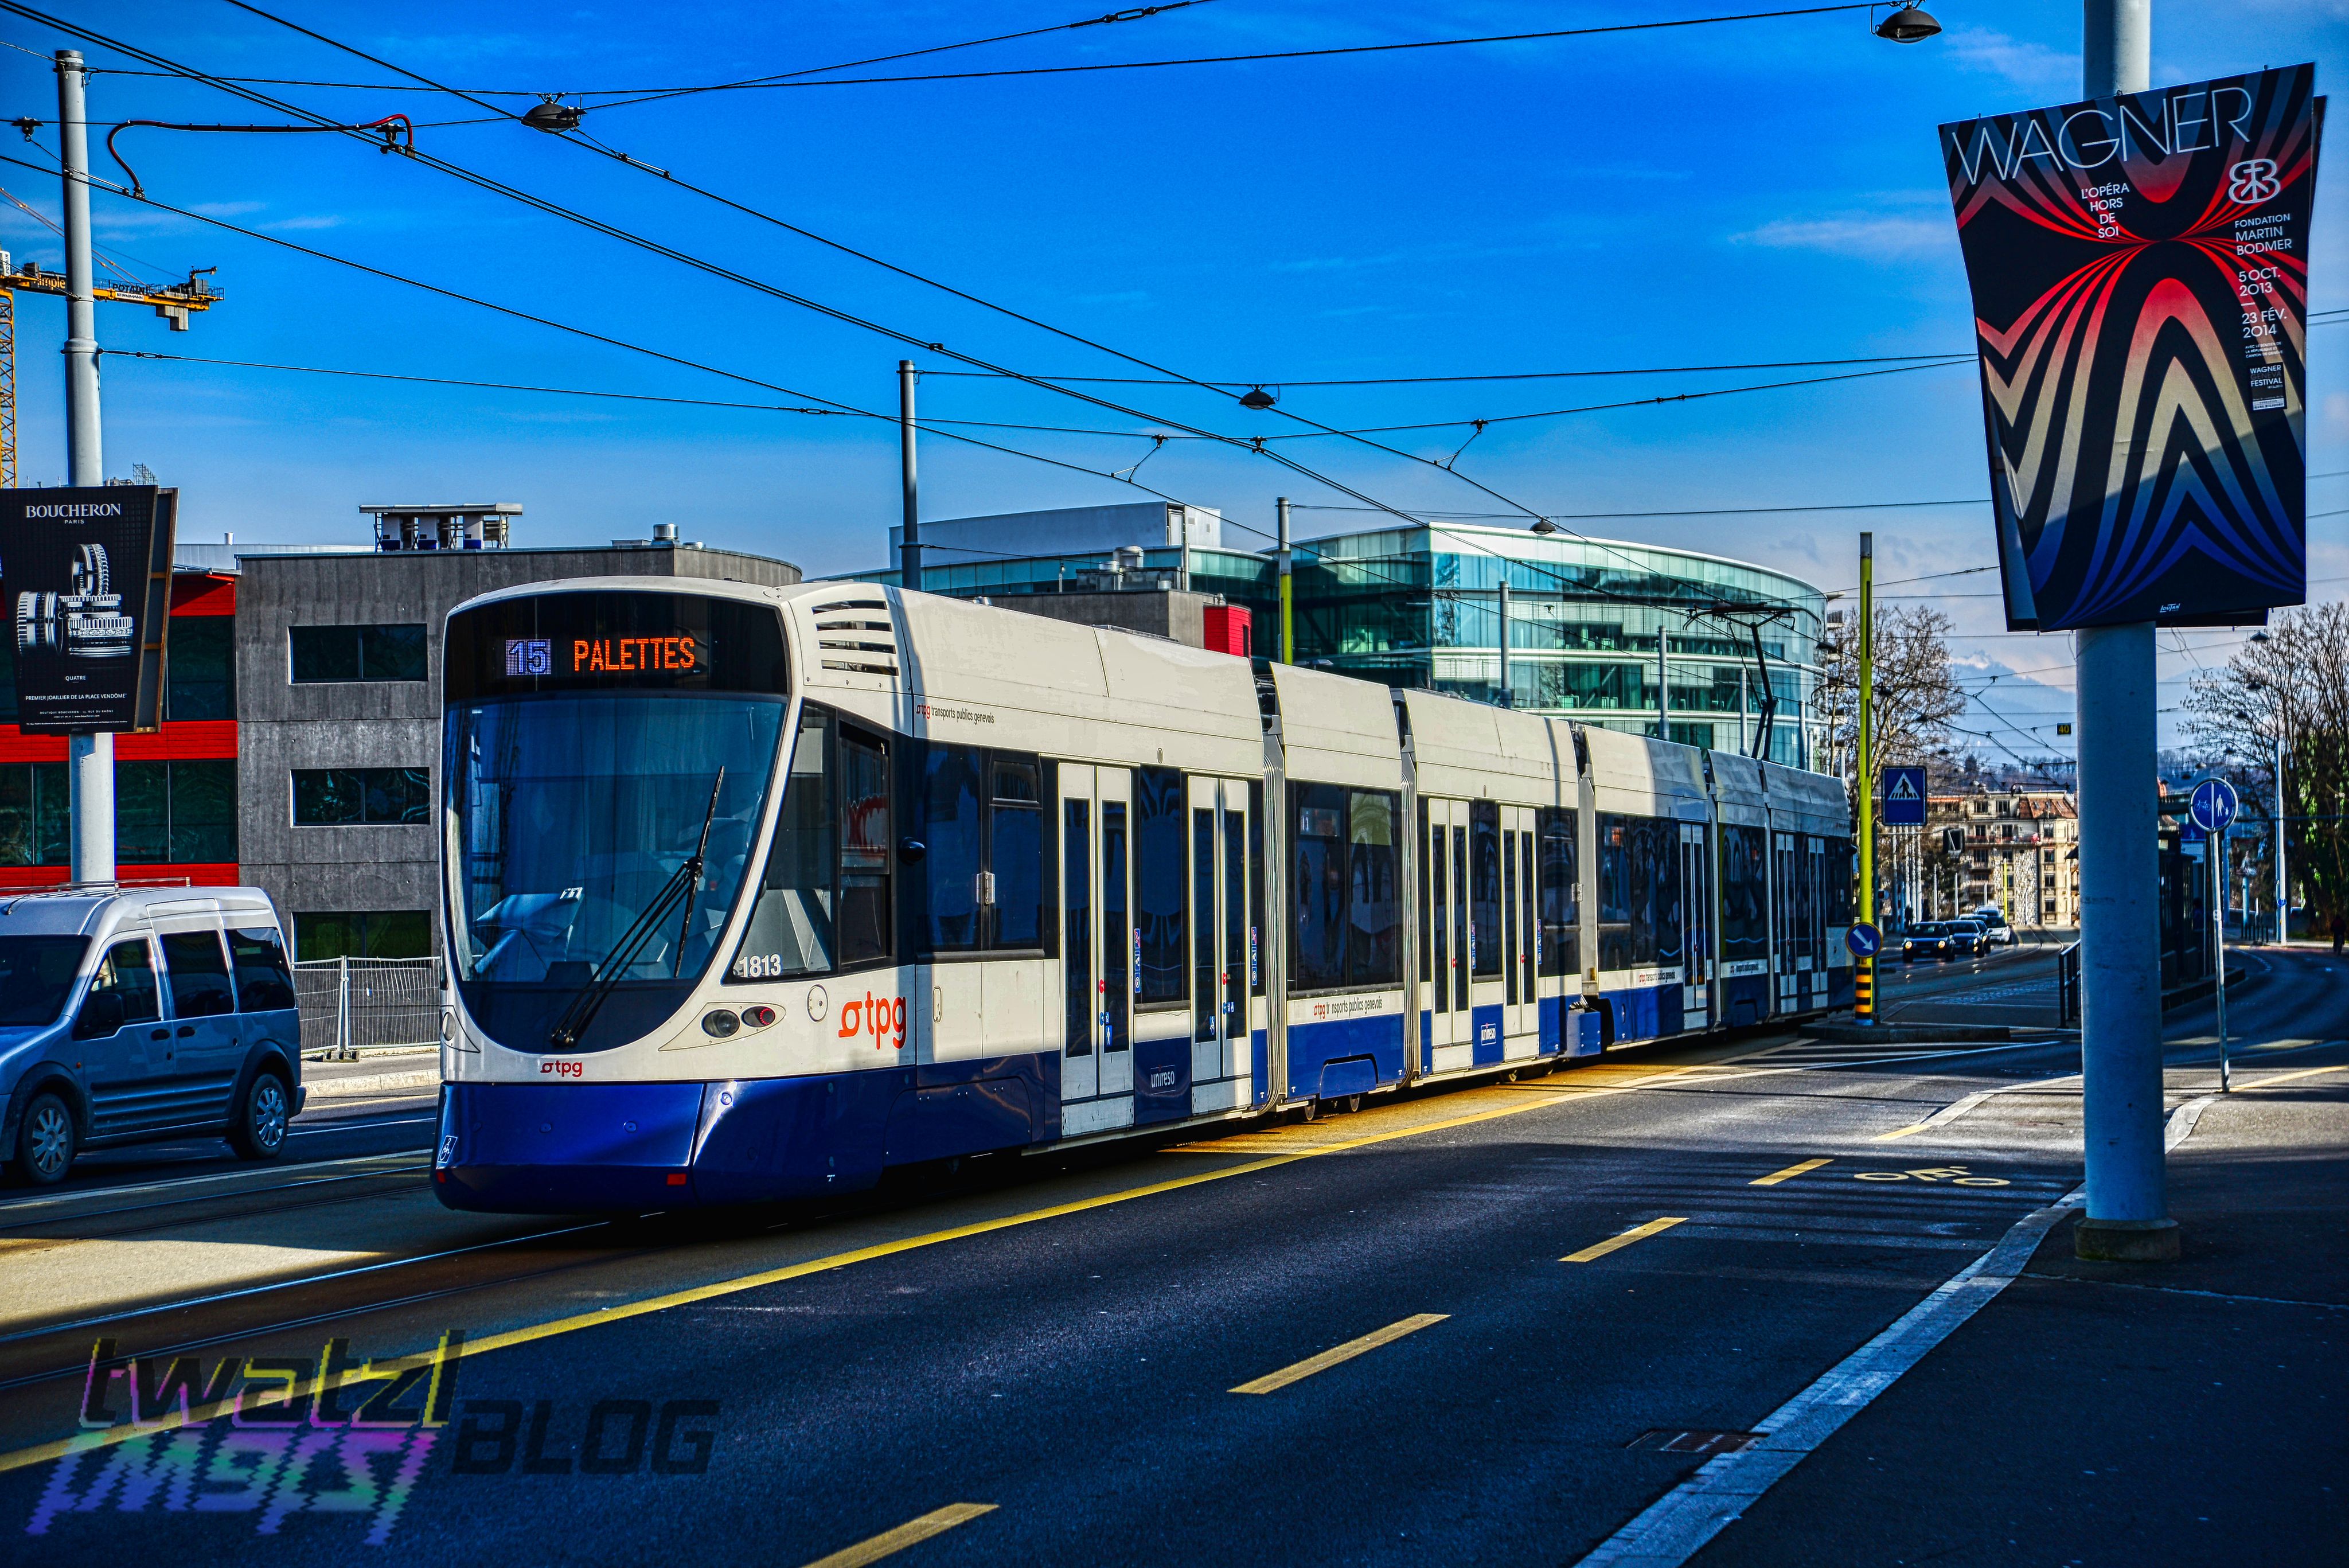
Daylight from a single JPG
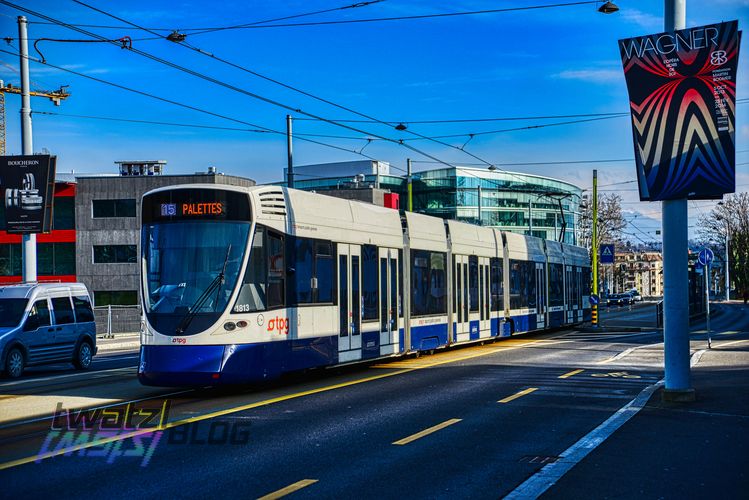
Back in the day when I started photography I did not know much about HDR or RAW images. Thus I only took JPG photos, but Aurora is able to create amazing shots even from a single JPG.
Conclusion
I have learned quite some things from all those experiments. Mainly that Hugin is still an awesome open source tool, but also some things I will have to keep in mind when I do my next astro photography session:
- take the images quicker, ideally under 1 minute
- do not expose longer than 1 second, rather use higher iso
- also shoot images with 1/500th of a second if the moon is in the frame
- do not use the bracket mode of the camera, rather quickly switch the exposure manually (sorting order of the images, also some images had the same exposure)
- take more photos with a similar exposure difference (I had a hard time because the exposure difference between two adjacent pictures was sometimes very high.)
The software Aurora HDR is quite nice and I really think about buying it.
One slight drawback from the approach mentioned is that you loose all metadata, however you can use Luminance HDR to copy EXIF from the source jpgs to the resulting tifs that Hugin produces.
I hope you enjoyed reading this article and could learn something from my experiences!
